Scroll areas
Scrolling areas allow you to display large amounts of content, including text, photos and videos, in a small pane contained within a page. In this tutorial, you will learn how to add, edit, and customize scrolling areas.
Think of the scroll area as a mini canvas or iframe of content that you can scroll through. You can insert as much content as you want and you can control the view size.
Create a scroll area
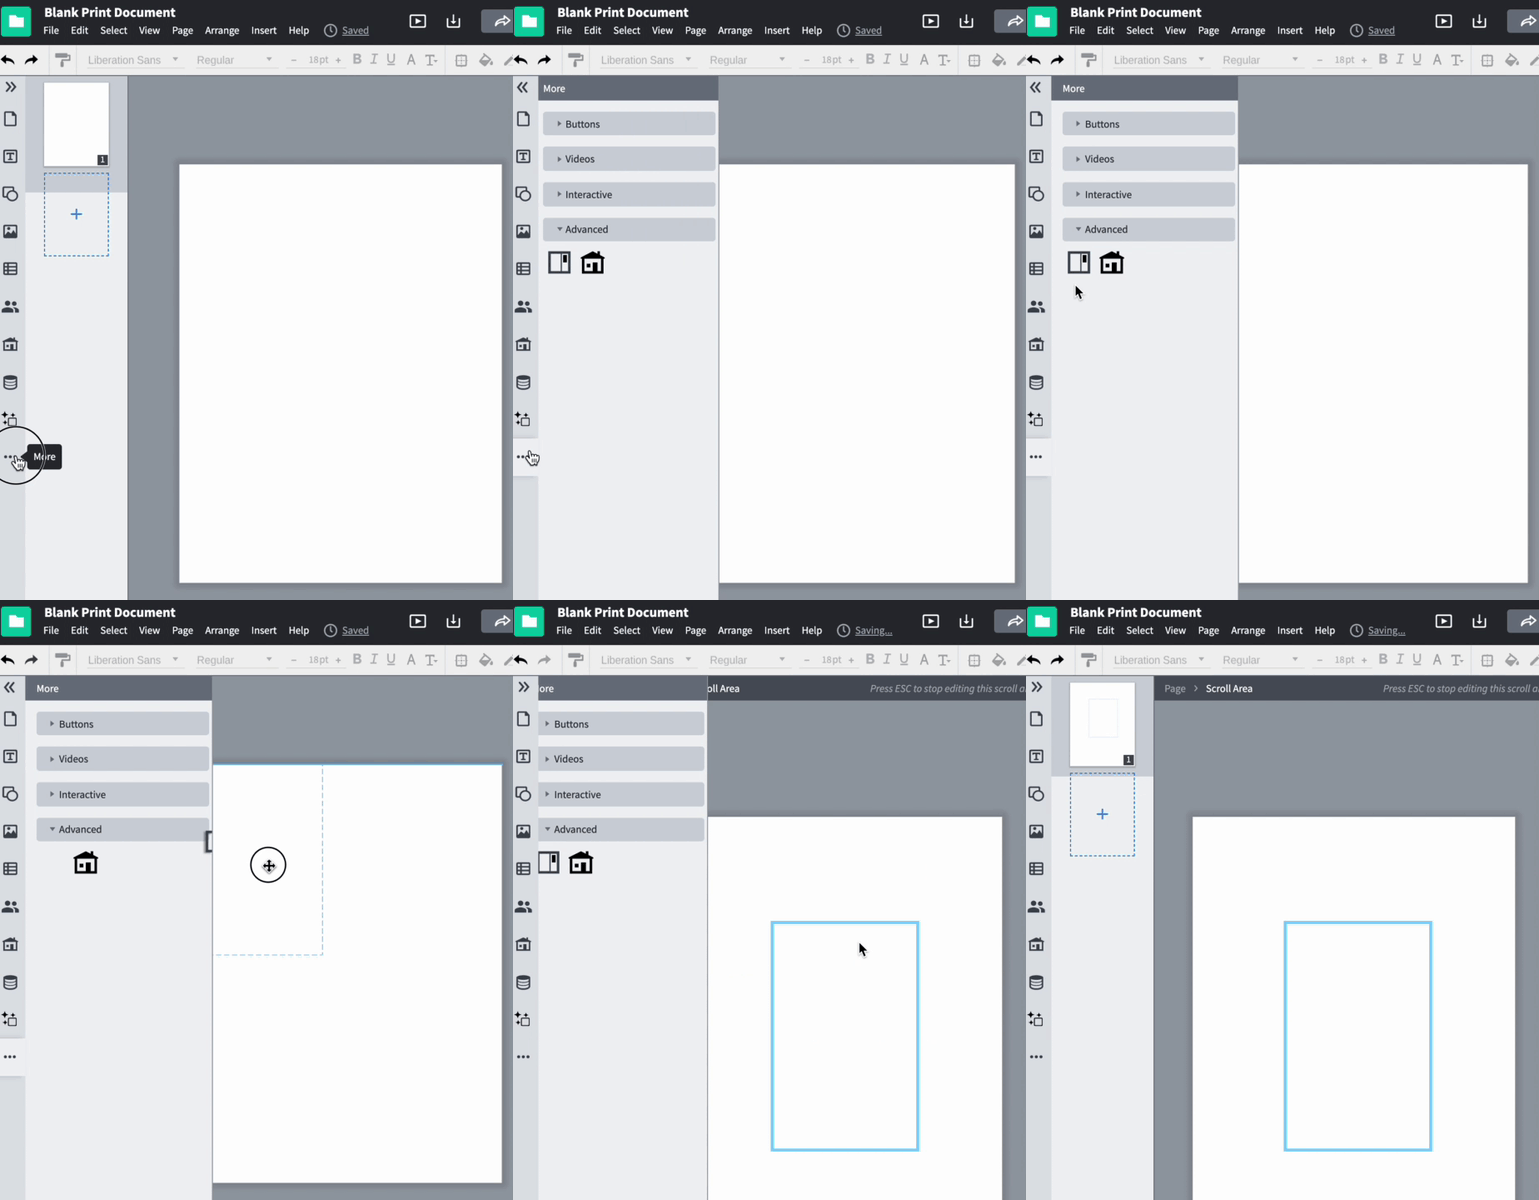
- Go to the 'more' section in the left content pane
- Drag the scroll area icon into the document

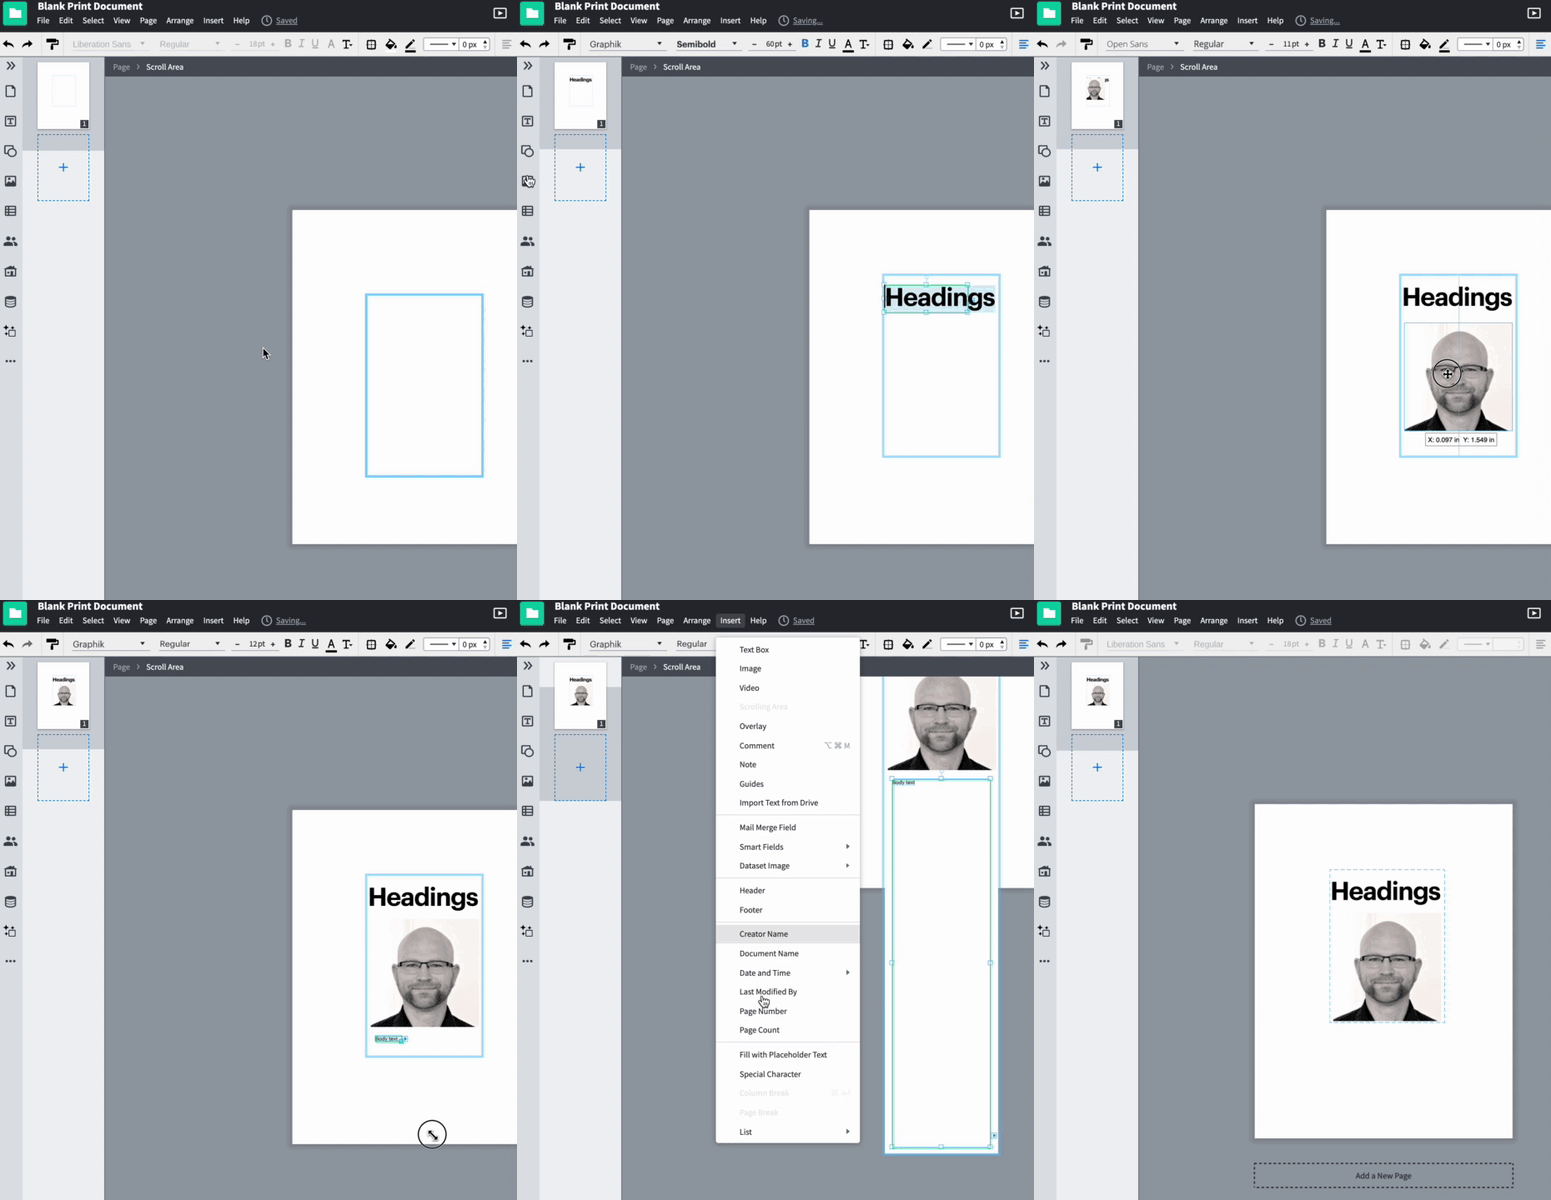
- Insert text, images, and shapes into the scroll. You can infinitely add content past the edge of the page. You can double click to edit the scroll area and see the full view at any time.

- Exit the scroll area by using the 'escape' key or double clicking outside of the scroll area
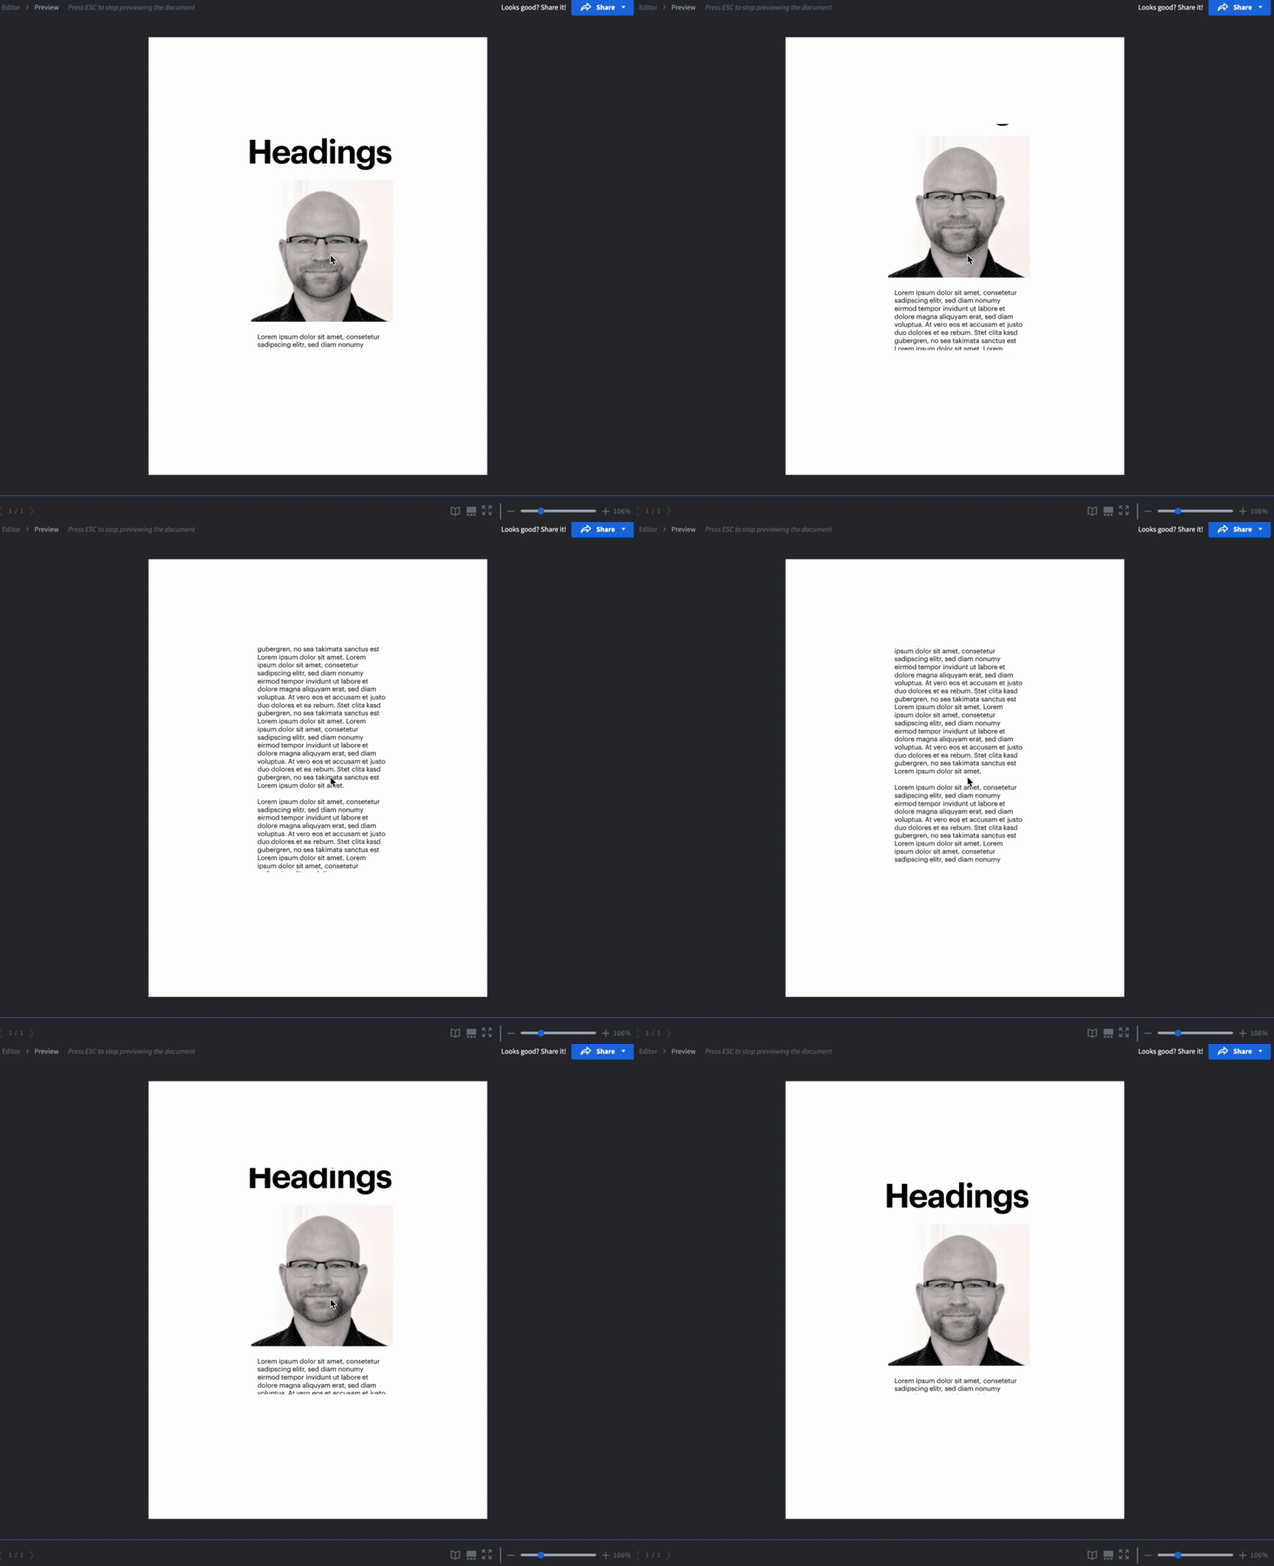
- Modify and resize the scroll area to choose what content is shown as default. Any content that is hidden from the main view can be 'scrolled' in the published view. You must be out of the scroll area view to resize the frame.

- Publish or preview the document to interact with the scroll area

Understand the Scrolling Area element
- Exiting - As soon as you add a scrolling area, a black bar will appear above your canvas, notifying you that you are in 'Edit' mode. To exit 'Edit' mode and return to the Layout view, double-click on an empty portion of the canvas or press Escape. You can also click on the 'Page' breadcrumb in the black bar above your canvas. Re-enter the scrolling area by double-clicking it.
- Borders - A dashed light blue border outlines the physical space the scrolling area will take up in your document, while a solid blue line marks the dynamic scrolling area. The dashed border will not appear in your published document.