(Beta) How to use the Marq Integration with HubSpot
Important
In order to use the Marq HubSpot app, you must have the HubSpot add-on and at least a HubSpot professional subscription. If you would like to trial the integration, please submit a demo request.
Quick start guide
Follow along in this video for a quick walkthrough on testing each of the features.
Installing the app
To install the Marq app card in HubSpot, you'll need permissions to be able to add integrations on behalf of your org. Follow these steps to proceed with installing the app:
-
Log in to your Marq account.
- Visit the app marketplace and select the HubSpot app
-
Connect and authorize the Marq app to your intended org in HubSpot.
- Authorize the Marq permissions within Marq.

Adding the Marq app to your records
To add the Marq app card in HubSpot, you'll need to add it to the UI in its specified location. For example, to add a card to the contact record view:
-
Log in to your HubSpot account.
-
In your HubSpot account, navigate to Contacts > Contacts. Then, click the name of a contact to view its record.
-
At the top of the contact record, click Customize tabs. A new tab will open showing the record editor sidebar.

-
In the right sidebar, click Default view to edit the default contact record view.
-
For the purposes of this tutorial, click the + plus icon tab at the top of the editor to add a new tab. (Not a requirement - If you are unable to add a new tab, you can add the card to the "Overview" tab and skip this step)

-
In the dialog box, enter a name for your new tab, then click Done.
-
With the new tab added, click the Add cards dropdown menu.
-
In the right panel, under Card types, click Apps.

-
Select the checkbox next to the Marq app.
-
Click the X at the top of the right panel to close it.
-
In the top right, click Save and exit.
-
Navigate back to the contact record, then refresh the page. You should now see your new tab, which will contain your new card. You can also do this with company or deal records.
Authorizing the Marq app
Each user will be able to connect their own Marq accounts. When initially loading, they will see a "Connect to Marq" button

Using the app
Once connected, the user who connected will see the brand templates that have been shared with them in Marq. If no templates are shared with the user or if no applicable filters are met for the template category, they will see a blank state.
As the user creates from the templates in the "Relevant Content" table, a new table called "Created projects" will appear which will house the content they generated that is associated with the record it was generated from.
The user can use the search bar which will pull in all templates and associated projects.

Saving a project
Projects will automatically be placed into the "Created projects" section once you've created them and will be uniquely associated with the record they were created in.
For additional features such as using the file saved in HubSpot, click the "Save" button in the editor.

Edit a project
Projects can be edited by clicking on them within the created projects section or by selecting More > Edit. Any changes you make will be saved to the Marq project. In order to update a file, be sure to click the Save button.

Copy link to a project
If a project has been saved, you can click on More > Copy Link for the public PDF.

Present a project
You can present the project by clicking the More > Present option. This will open a slide viewer mode of your project.

Download a project
If a project has been saved, you will be able to download it to your computer by selecting the More > Download option.

Convert a project to a sales document
If a project has been saved, you will be able to convert the project to a sales document by selecting the More > Convert to Sales Document option. This will act as a shortcut to take you to the documents section in HubSpot for you to convert your project. Click Upload > Select existing file in HubSpot and locate the project you saved. After you converted your project into a document, you can use it in 1:1 sales emails and track the engagement of the file.

Delete a project
You can delete a project from the HubSpot record by selecting the More > Delete option. The project will still remain in your Marq account but will remove all association to the record and you will be able to create and associate a new project from your templates.

To update settings, navigate to the App Marketplace in HubSpot and select Manage apps. Search for Marq and then select Actions > Go to Settings


- Updating collaborating settings
Toggle this setting on to allow users to share projects to other users from within the embedded editor - Updating downloading settings
Toggle this setting on to allow users to download projects directly from within the embedded editor - Updating printing settings
Toggle this setting on to allow users to print projects directly from within the embedded editor - Updating preferred export format
Select an export format for the "Save" button to control what export format is sent back to your HubSpot record as a file - Set filters and data preferences
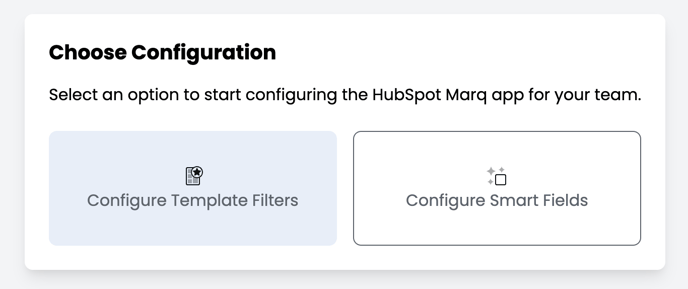
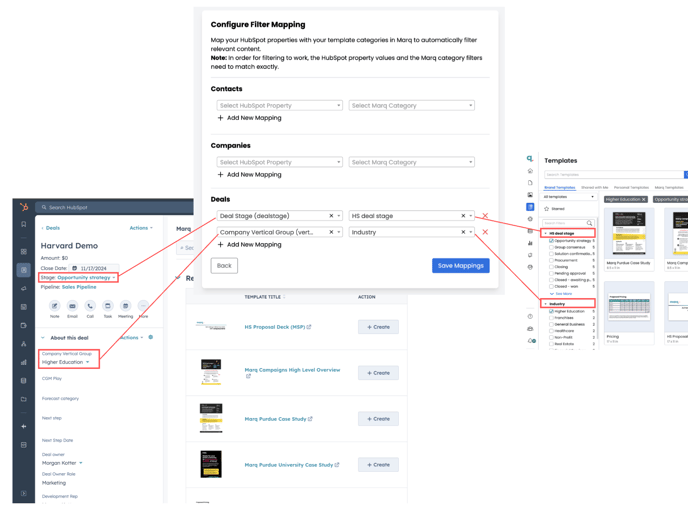
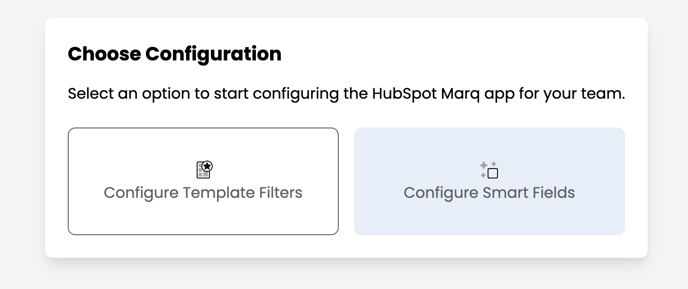
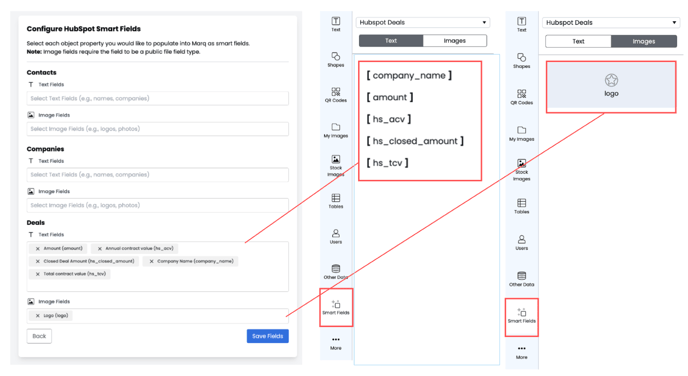
Control how templates filter and populate data based off of the record values
Using template filters
- HubSpot: dealstage (Value = Opportunity strategy)
- Marq: HS deal stage (Value = Opportunity strategy)
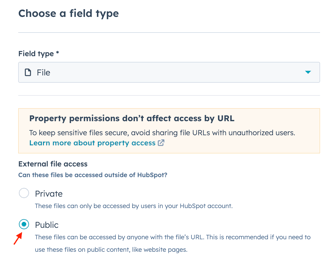
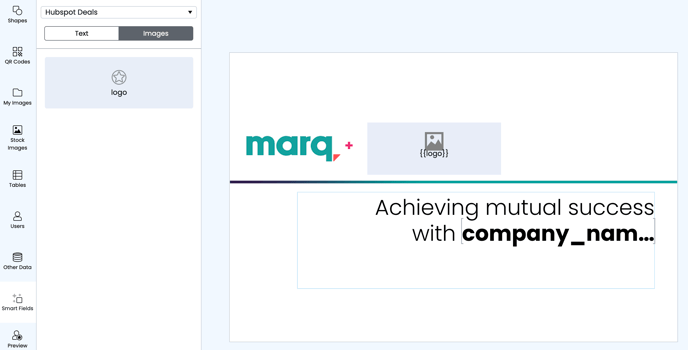
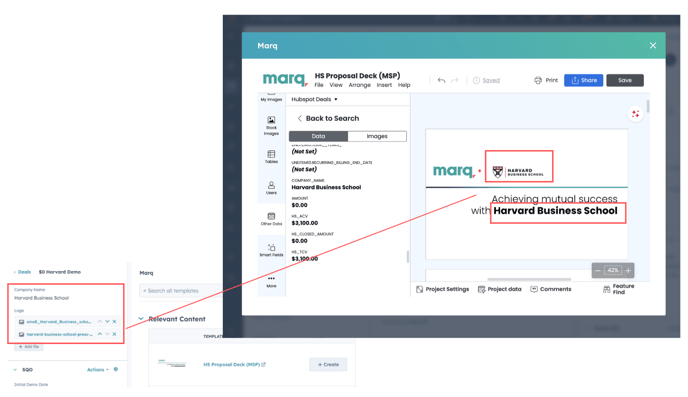
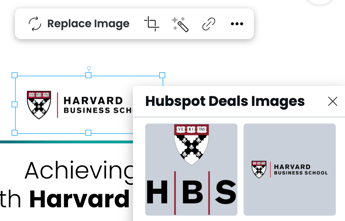
Using smart fields
Uninstall the app
To disconnect Marq from your HubSpot account, follow these steps:
- Go to app marketplace > HubSpot
- Select Disconnect HubSpot

- To uninstall the Marq app card in HubSpot, navigate to your connected apps in the App Marketplace in HubSpot and select Manage apps. Search for Marq and then select Actions > Uninstall.
