Connect to Your Facebook Business Page
End User
-
Access Account Settings:
- Log in to your Marq account.
- Navigate to your Account Settings.

-
Navigate to Campaigns Tab:
- Within the Account Settings, select the Campaigns tab.

-
Manage Linked Facebook Pages:
- Click on Manage Linked Facebook Pages.

-
Add Your Business Page:
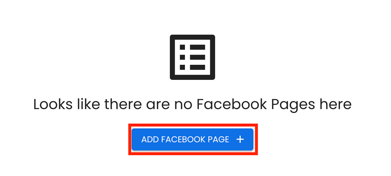
- Select Add Business Page.

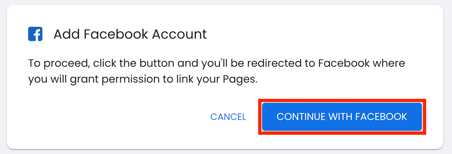
- Follow the prompts to authenticate and link your Facebook Business Page.

- Note: You must have Business Manager or Admin access to the Facebook page you are linking.
-
Validate Connection:
- Return to your Account Settings page and select 'Validate Connection' to pull all synced Facebook pages.

Admin
-
Access Admin Settings:
- Log in to your Marq account.
- Navigate to your Admin Settings.
-
Navigate to Campaigns Tab:
- Within the Admin Settings, select the Campaigns tab.

*Note: This page is only accessible by the Account Owner.
- Review Campaigns Settings:
- Enable Paid Social Campaigns
- Activate to grant access to Campaigns for your team.
- You can work with your CSM to grant access to all users on your account or only a select group of users.
- Enable Paid Social Campaigns

-
- Allow your team to link to their own business pages:
- Based on role, you can restrict users from linking their own Business Page to run paid ads.
- If this setting is disabled, then your team will be restricted to use the default page linked to the account.
- Allow your team to link to their own business pages:

- Configure Default Page
-
- Select 'Connect to Facebook' to enable a page that all users will have access to on your account by default.

- Add Your Business Page:
- Select Add Business Page.

- Follow the prompts to authenticate and link your Facebook Business Page.

-
- Note: You must have Business Manager or Admin access to the Facebook page you are linking.
-
Validate Connection:
- Return to your Account Settings page and select 'Validate Connection' to pull all synced Facebook pages.
