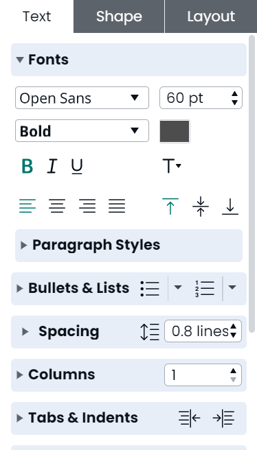
To format your text, select the text box or portion of text within the box that you are interested in formatting. Then look to the right of the canvas to find the context pane. In the "Text" tab of the context pane you will find the options to change font style, size, color, alignment, warp, and much more.
In the context pane you can change the paragraph style of your text to any of the preset styles or custom styles that you create yourself.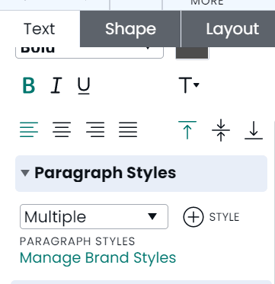
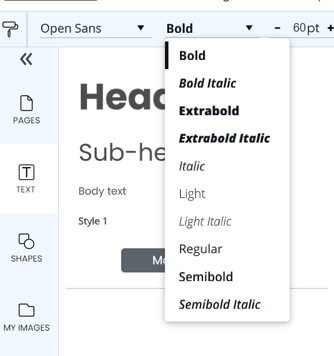
The context panel is also the place to modify the basic formatting of your text, including font, size, color, bold, italic, or underline.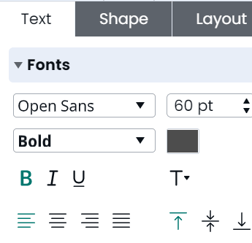
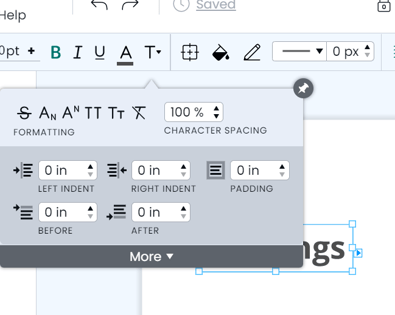
If you click on the ![]() sign to the right of the underline option, more text formatting options will appear. These options include adding strikethrough, superscripts, or subscripts, changing to all caps or small caps, and removing all formatting. You will also be given the options to change your character style, add an outline to the text, or to add a highlight to the text box.
sign to the right of the underline option, more text formatting options will appear. These options include adding strikethrough, superscripts, or subscripts, changing to all caps or small caps, and removing all formatting. You will also be given the options to change your character style, add an outline to the text, or to add a highlight to the text box.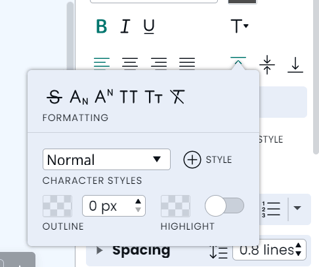
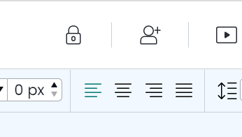
The context pane also gives you the opportunity to change the alignment of the text within the text box. Horizontal alignment and vertical alignment options appear below the bold, italic, and underline settings.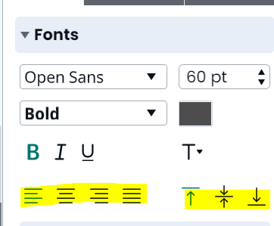
The next section allows you to add bulleted or numbered lists to your text and choose the style and color of these bullets. When expanded, you can also choose the indentation and spacing of your bulleted or numbered list.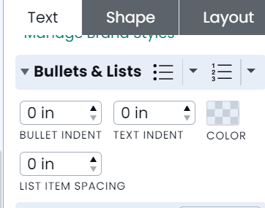
Continuing down the context pane, there are options to change the spacing. The spacing option increases or decreases the space between lines, the paragraph spacing option increases or decreases the space between paragraphs, and the padding option changes the amount of space between the edge of the text box and the text. Other settings include character spacing to move letters closer together or farther apart and character stretching to horizontally stretch or compress the letters.
In the context pane, you also have the option to add or remove columns, and to change the distance between columns (the gutter).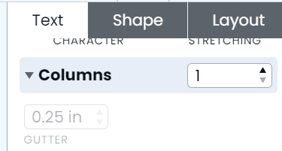
The tabs and indents section allows you to add or remove tabs, to set up first line and left / right / top / bottom indents, change the default tab spacing, and add or remove tab stops.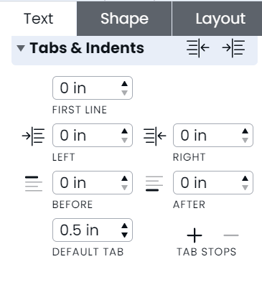
The next section of the context pane, the horizontal rules section allows you to add and edit horizontal lines spanning across the top or bottom of text. You can change the thickness, color, and padding of these horizontal rules in this section.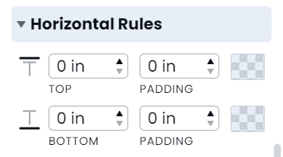
The warp section gives you the opportunity to customize the line that your text appears in. You can set it to appear on a wave, ribbon, arch, or arc, and then (using the expansion of this section) change the bend, wave, horizontal distortion, and vertical distortion of the line.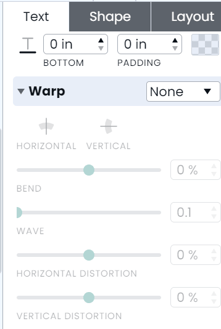
The context pane also is the place to link your text. You can link text in Marq to URLs, emails, or other Marq project pages.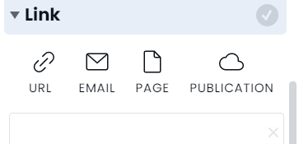
The final option in the context pane for editing text is hyphenation. Turning hyphenation ON will cause words cut off by a new line to be hyphenated, and turning hyphenation OFF will push these words to start on the new line.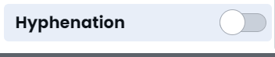
Bold, Italicize, and Underline
The context panel is also the place to modify the basic formatting of your text, including font, size, color, bold, italic, or underline.
Text Align
The context pane also gives you the opportunity to change the alignment of the text within the text box. Horizontal alignment and vertical alignment options appear below the bold, italic, and underline settings.
Text styles
Character Style
If you click on the (T) sign to the right of the underline option, more text formatting options will appear. These options include adding strikethrough, superscripts, or subscripts, changing to all caps or small caps, and removing all formatting. You will also be given the options to change your character style, add an outline to the text, or to add a highlight to the text box.
Drop Caps
Drop caps will not import to Marq. To make a drop cap in Marq, create a separate text box for the larger letter in Body Text format. Format your letter and add text wrapping under the Layout tab on the right. Adjust the text-wrapping padding as needed.
Overflow text into another text box
To link a text box, click the blue triangle on the bottom corner of a text box and drag it to any area within the other text box. You'll see a blue line connecting the two boxes, indicating that they are now linked.

Wrapping Text
To wrap text around your image, select the image and adjust the Text Wrapping settings in the Layout tab.
- Select the image or object you’d like to wrap your text around and go to the Layout tab in the context pane to the right of your canvas.
- Under “Text Wrapping” (make sure it’s on), select the second option — “Wrap tight to object boundary”. Right-click the image or object and hit “Bring to Front” so that your text will easily wrap around the object.

Bullet and numbered lists
The next section allows you to add bulleted or numbered lists to your text and choose the style and color of these bullets. When expanded, you can also choose the indentation and spacing of your bulleted or numbered list.

Text on a path
Marq has some path effects. These settings can be found on the right pane under the Text tab in the Warp settings.
