Edit and format shapes
As shapes and images are central to any design, Marq makes working with them easy and intuitive. You can learn how you can edit their styles and arrange them on your canvas to create the perfect piece of visual content.
Jump to a section
| Add shapes |
| Move, Resize and Rotate Shapes |
| Rounding and Special Shape Modifications |
| Edit Shape Fill |
| Add and Style Borders and Shadows |
Add shapes
Move, Resize, and Rotate Shapes
Move
Our drag-and-drop interface makes moving objects around your canvas easy and intuitive. To move a shape or image, drag it with your mouse or select it and move it using your arrow keys. Hold down “Shift” while using your arrow keys to make your object leap across the canvas. You can also manually adjust an object’s position on the canvas by adjusting the “X” and “Y” values at the top of the “Layout” tab of the Context Pane.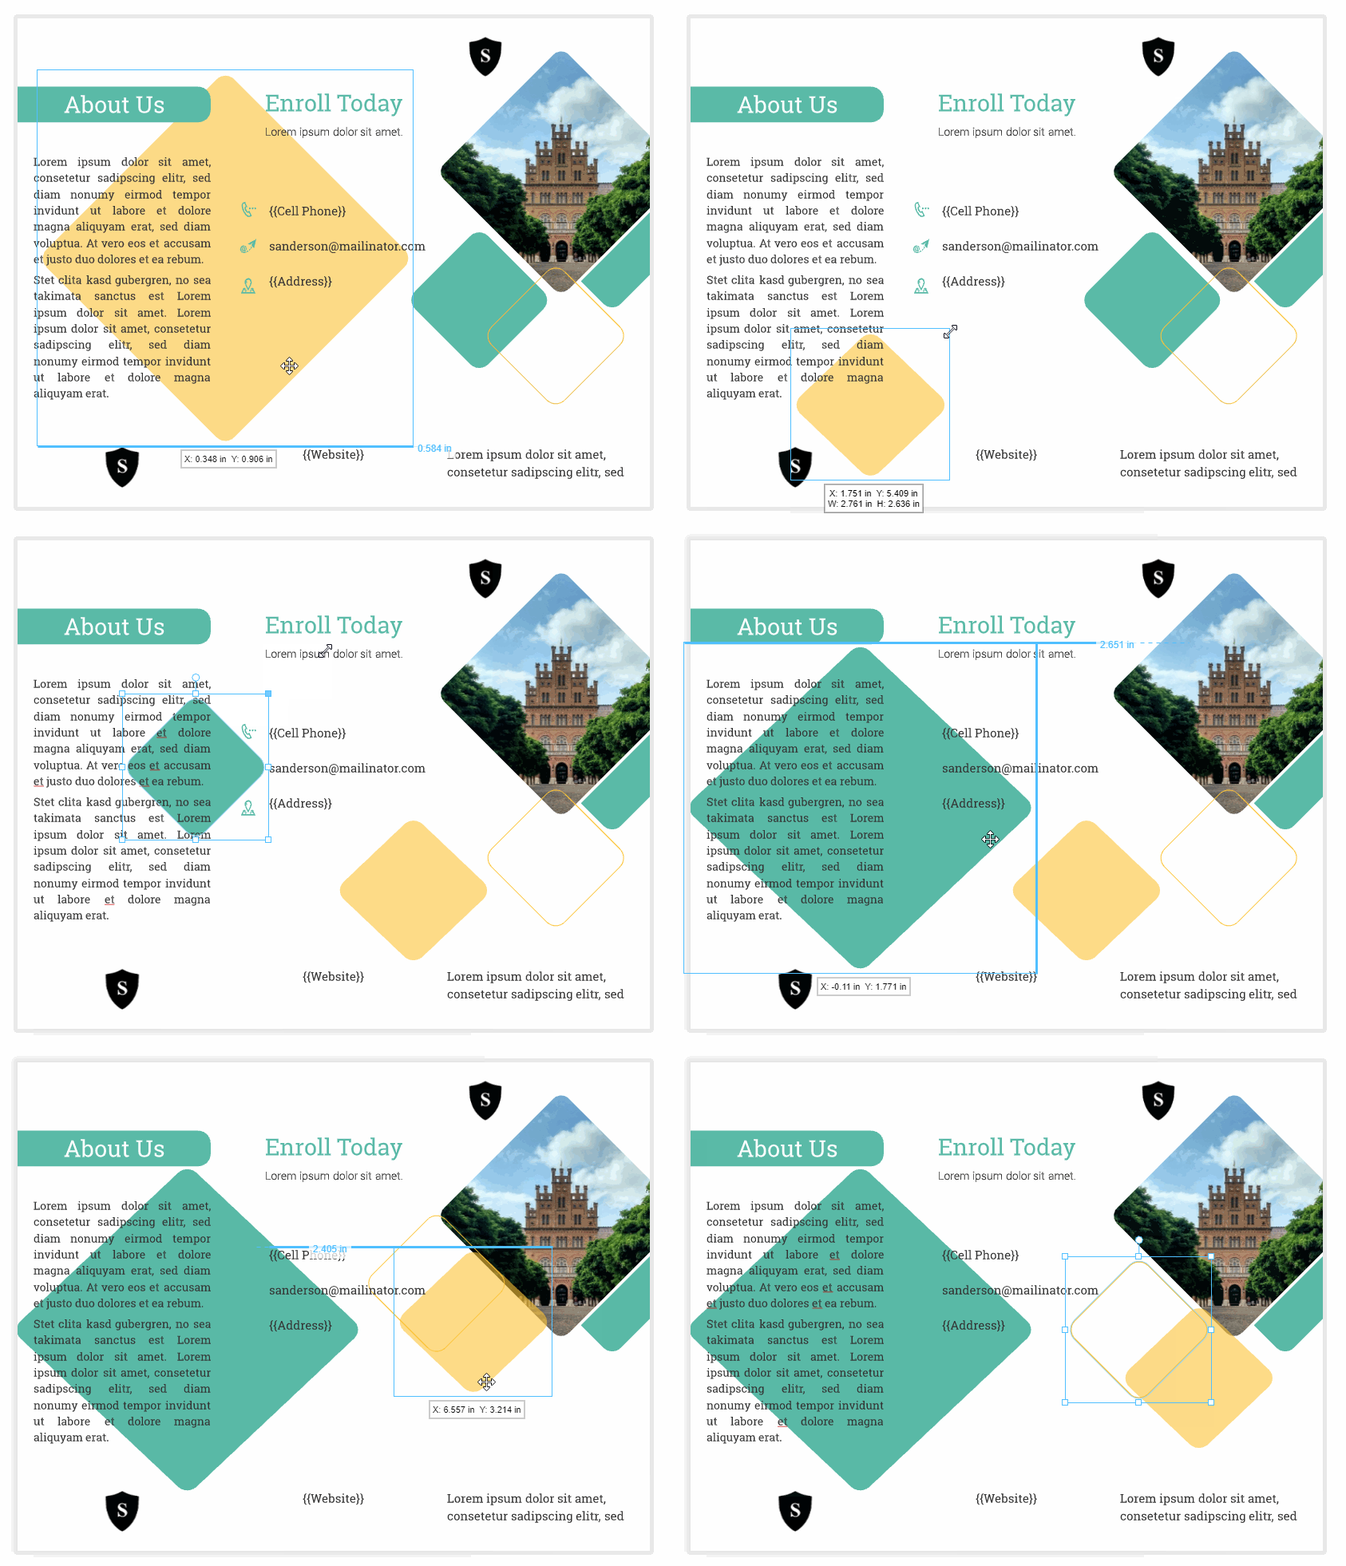
Resize
To resize a shape or image, select the object and click and drag from any spot on its border. Hold down “Shift” to lock its proportions as you re-size. You can permanently lock a shape or image’s proportions by right-clicking on the object and enabling “Lock Aspect Ratio” in the drop-down menu. You can also manually adjust an object’s size by adjusting the “W” and “H” values at the top of the “Layout” tab of the Context Pane.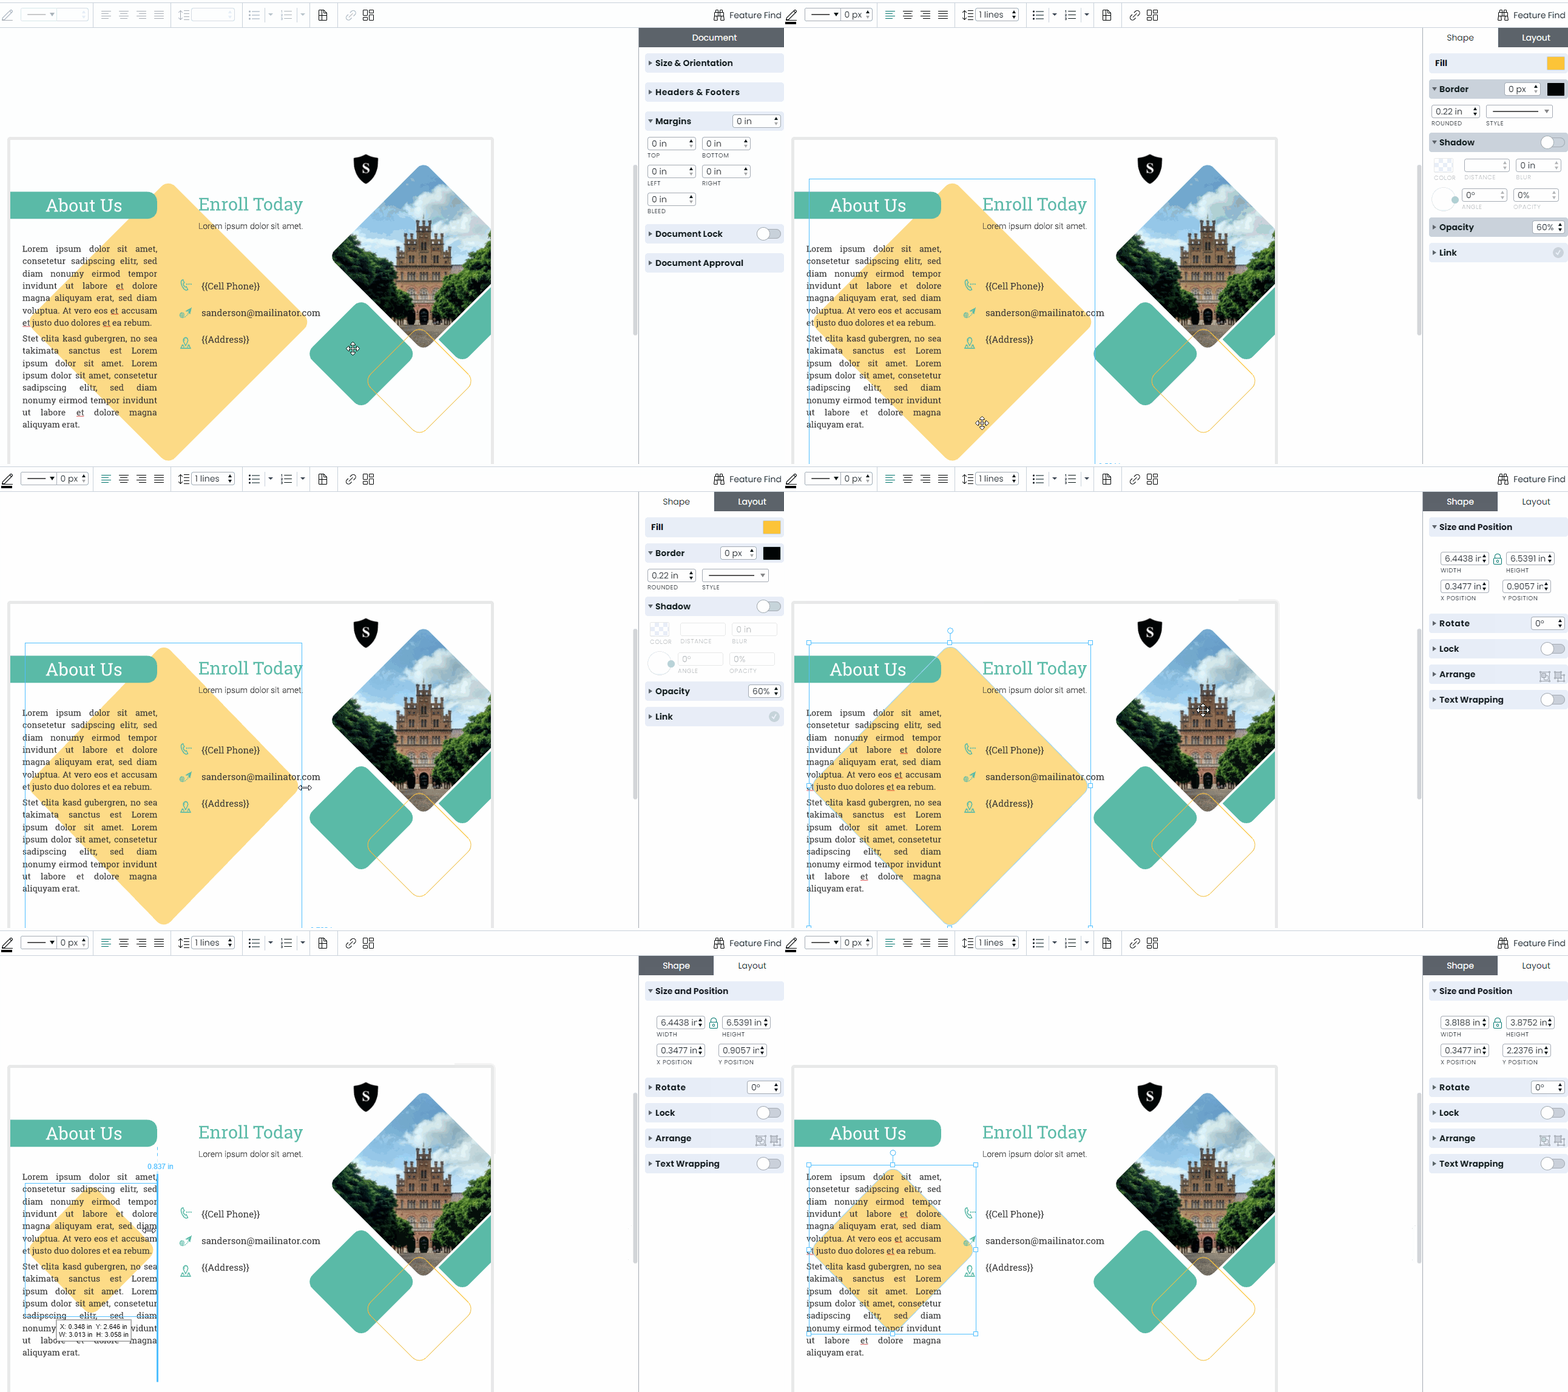
Rotate
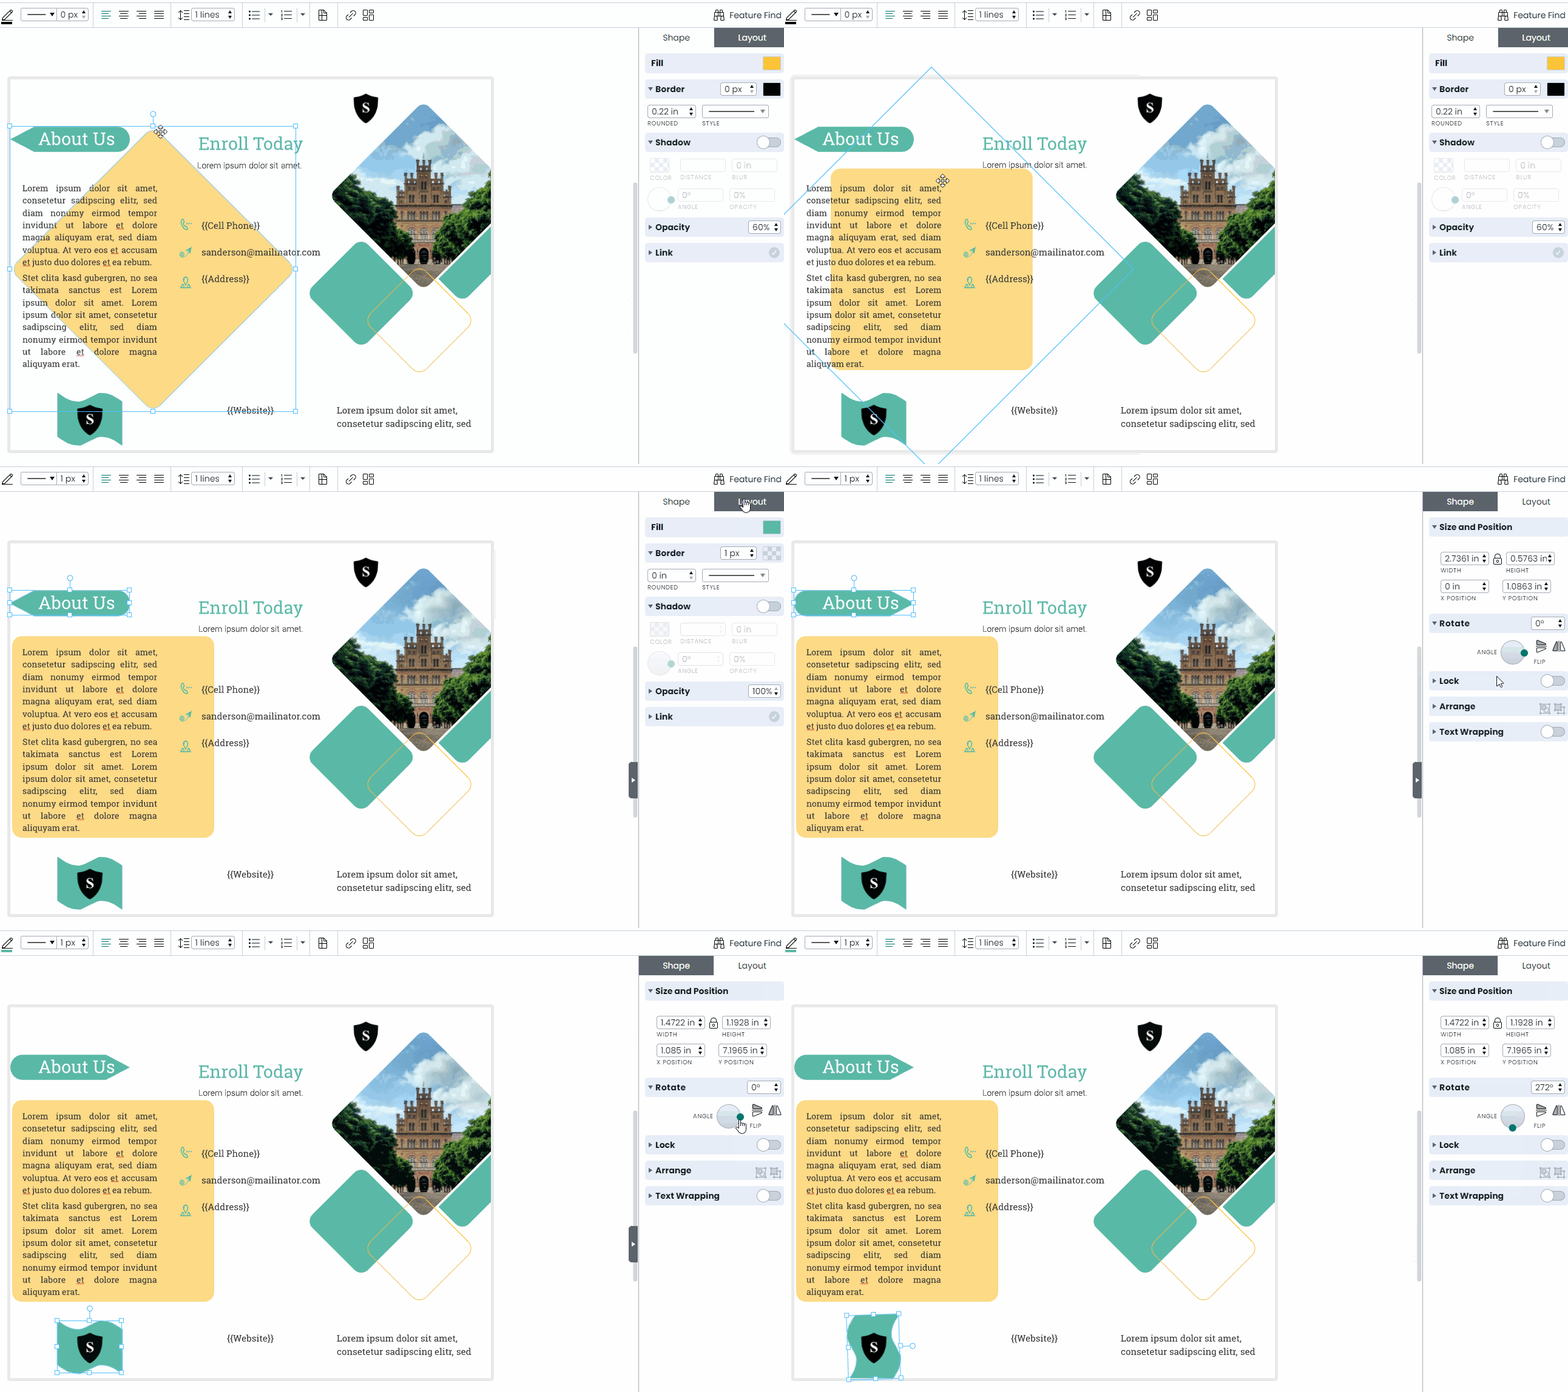
When you select a shape or image, a handle will stem from the top of the object’s border. Click on this handle and drag your cursor clockwise or counter-clockwise to rotate the object into the orientation you desire. Hold down “Shift” to rotate the object in 45˚ increments. You can also navigate to the “Rotate” section of the “Layout” tab of the Context Pane to input a specific rotation angle or select one by dragging the grey dot around the “Angle” circle. Click on one of the triangular icons next to this circle to flip your object horizontally or vertically.
Rounding and Special Shape Modifications
Special Shape Modifications
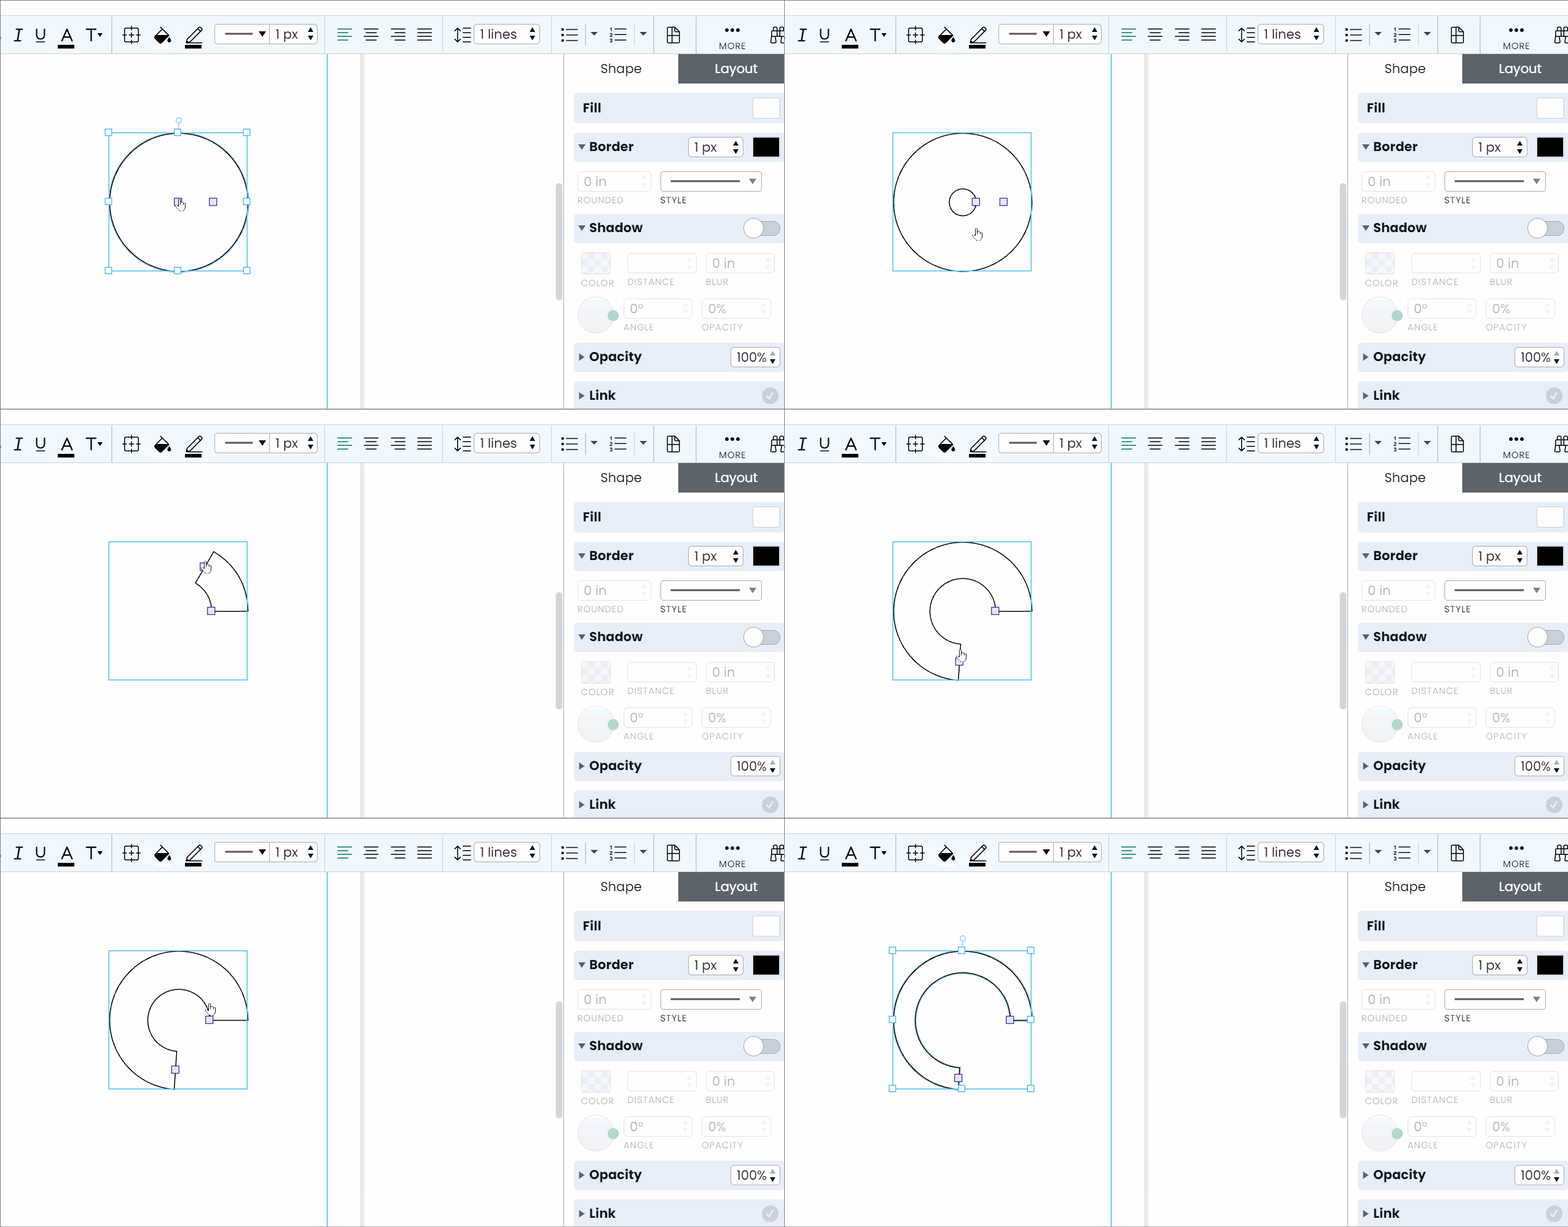
Some of our shapes have special handles that allow you to morph them in cool and useful ways. Check out the gifs below for a demonstration of these unique modification features.
In the top right corner of the rounded square, there is a handle that you can drag to the left or right to increase or decrease rounding.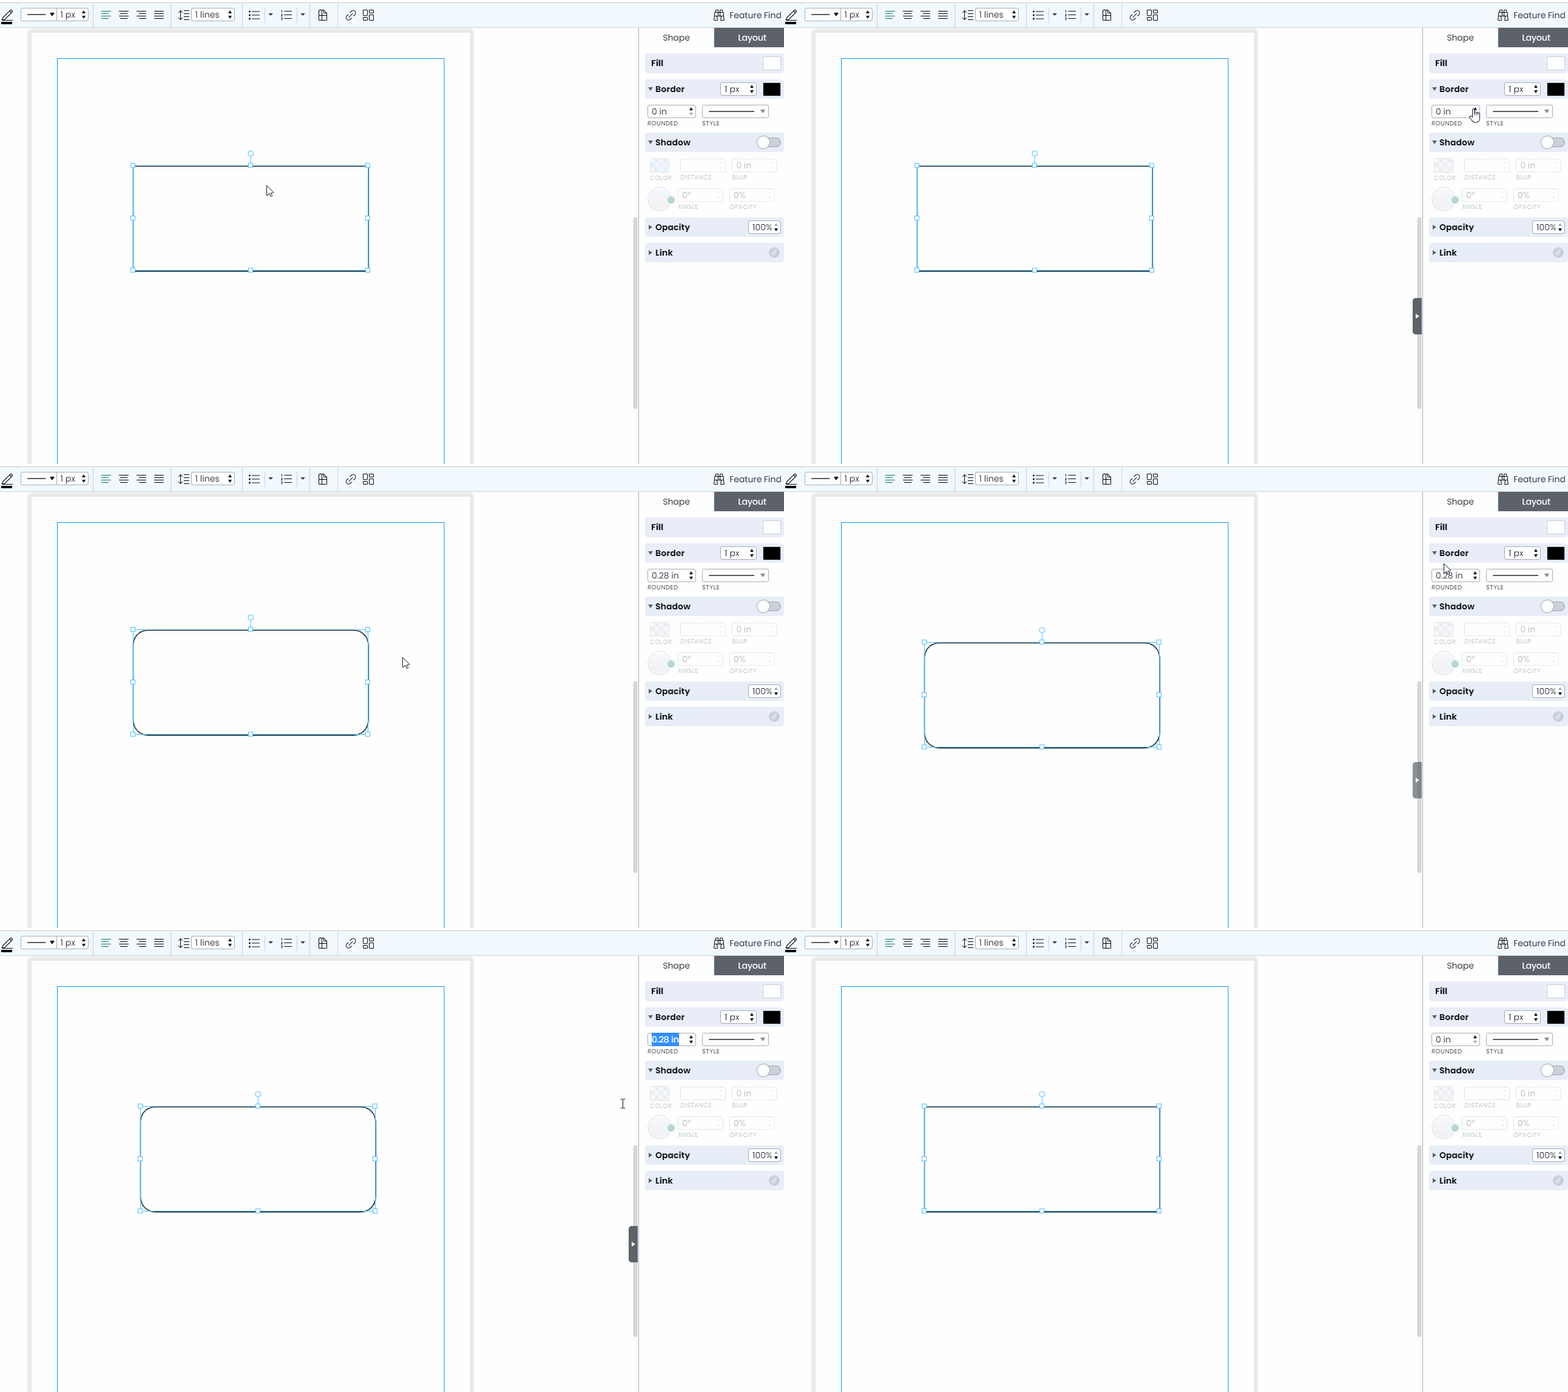
Drag the handle on the right side of the pentagon to add or remove sides. With this feature, you can switch easily between a triangle, square, pentagon, hexagon, or other multi-sided shape!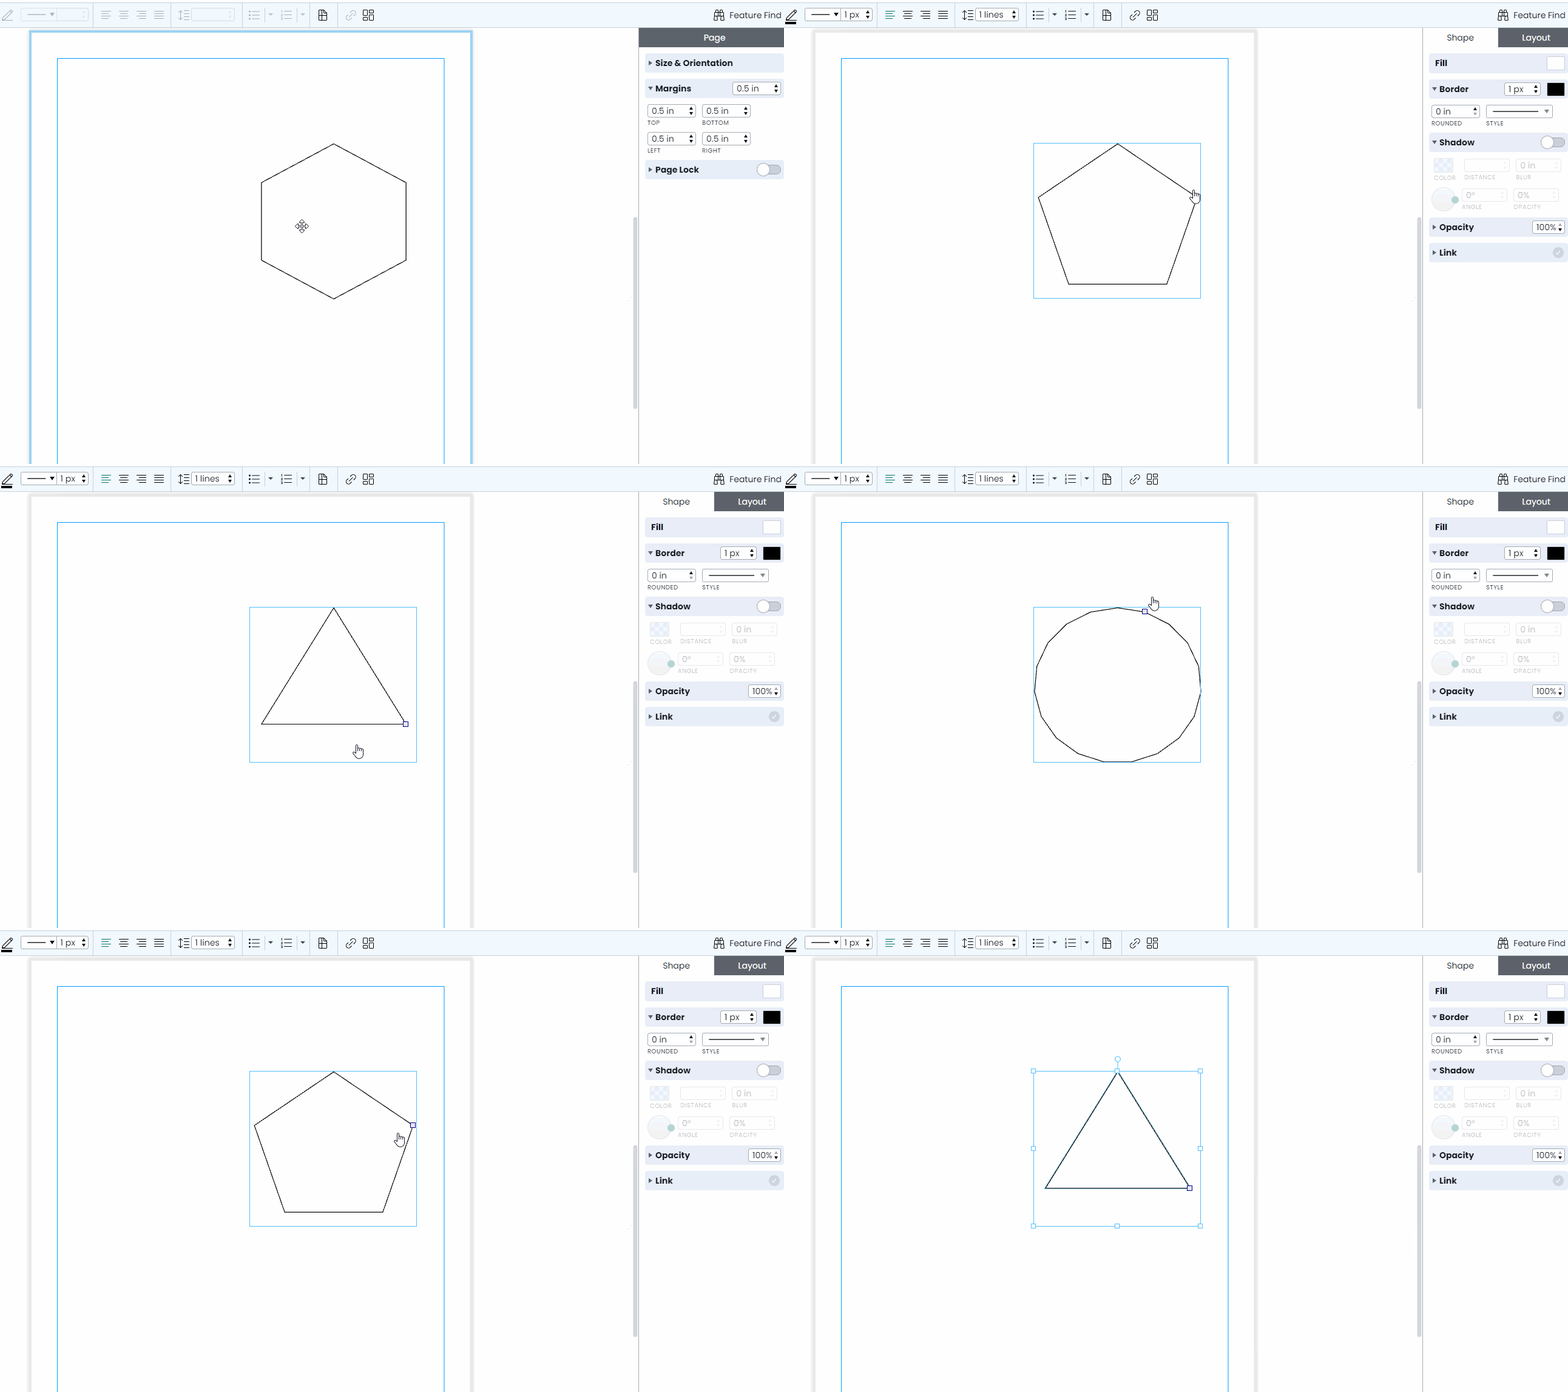
Inside both the single- and double-sided arrows there are interior handles that you can drag to change the arrows' dimensions.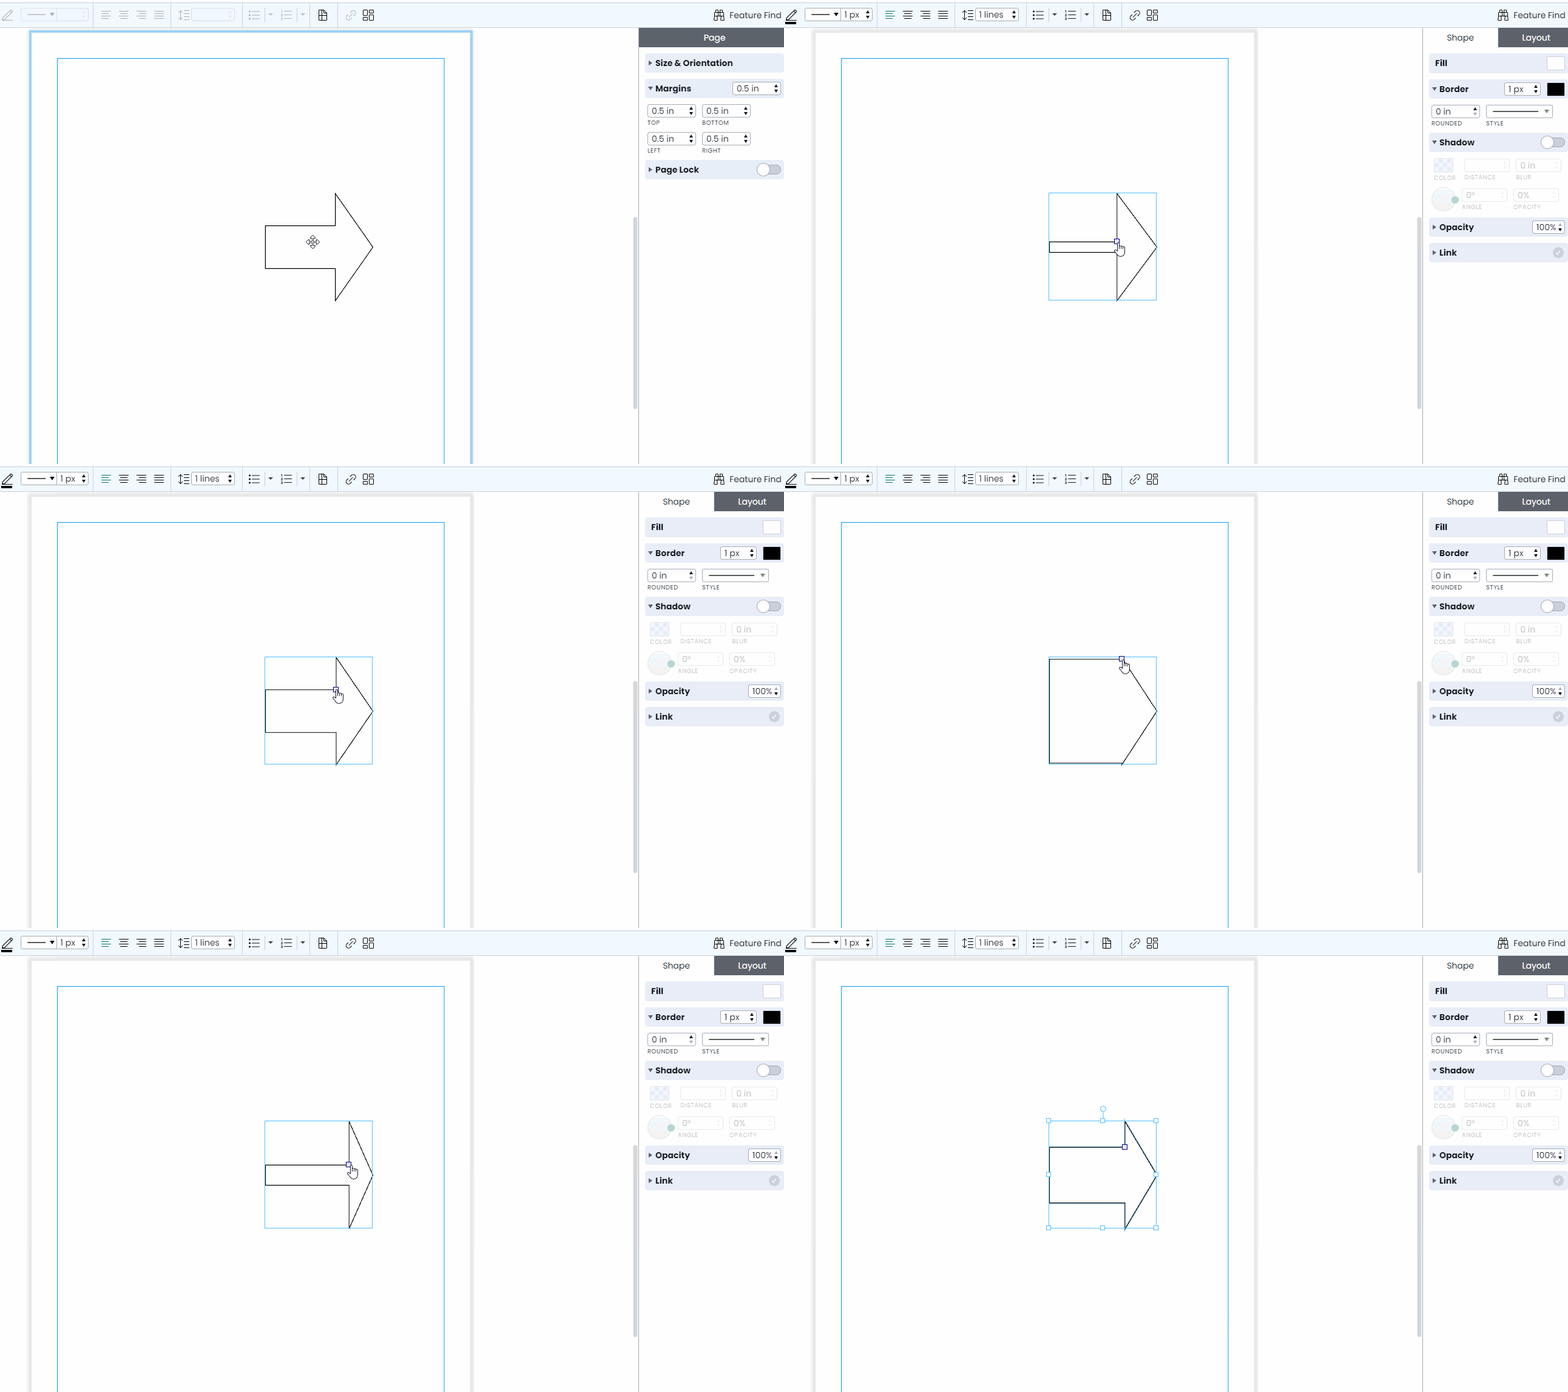
You can also use the radial tool to adjust the radius of the circle
Edit Shape Fill
Edit Shape Fill
To edit the fill color of a shape, follow these steps:
- Select a shape by clicking on it.
- Click on the “Fill Color” icon in the Options Bar OR click on the rectangle next to “Fill” at the top of your Context Pane.
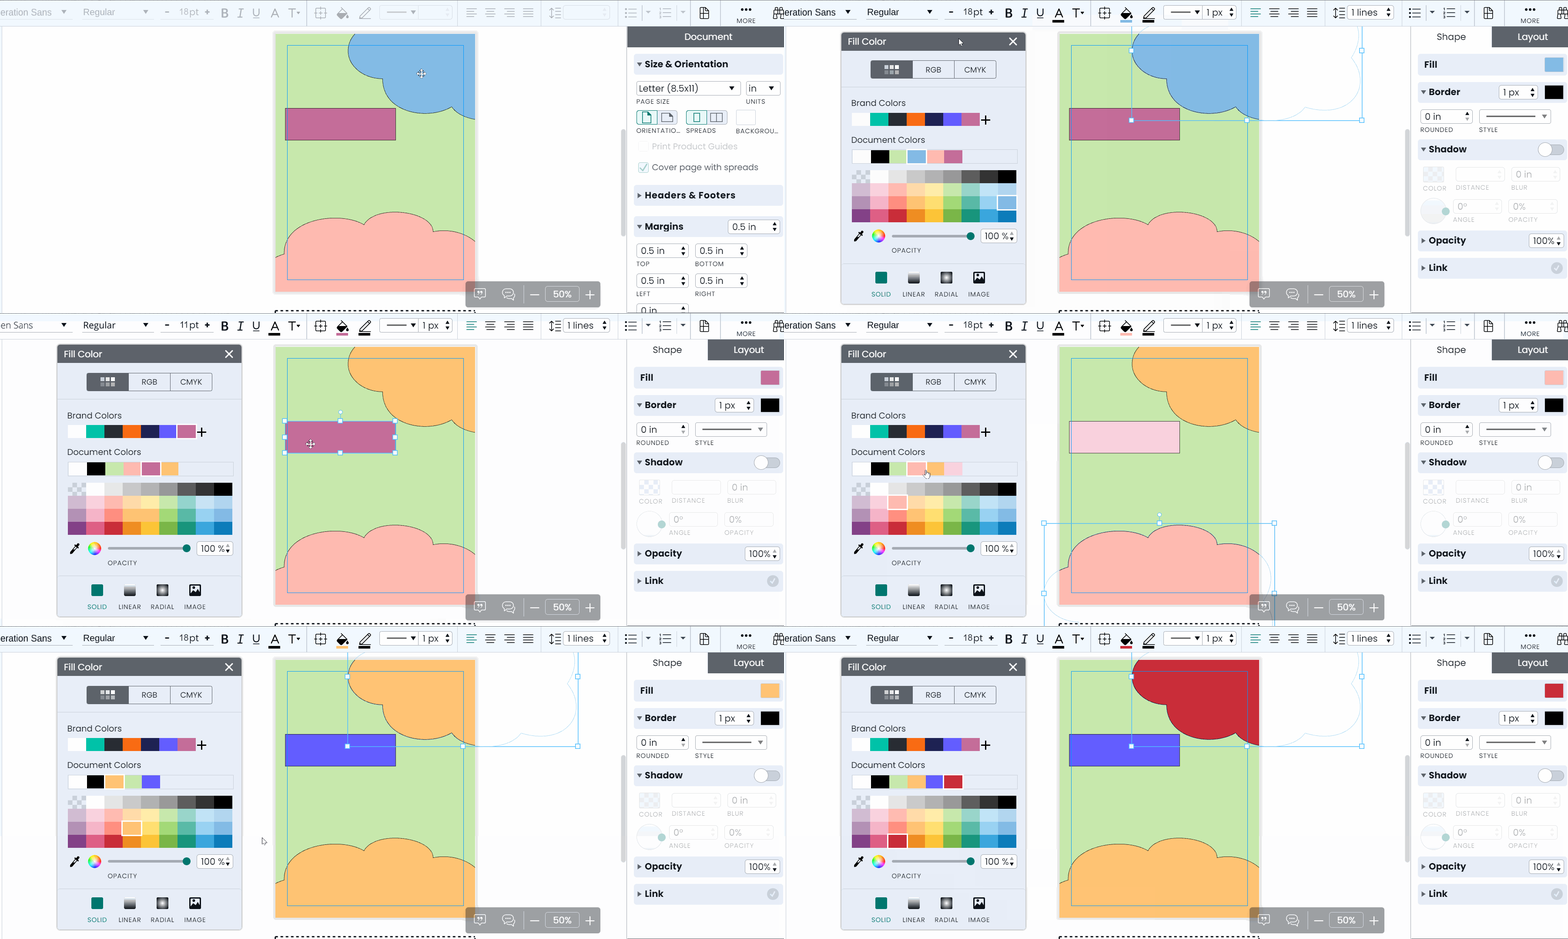
- Select the color you want by clicking on the corresponding color swatch.
Alternatively, click on the color wheel to manually pick a color by adjusting the HSB and RGBA values in your color space, or by typing the hexadecimal code of the color you desire into the text box next to the # symbol.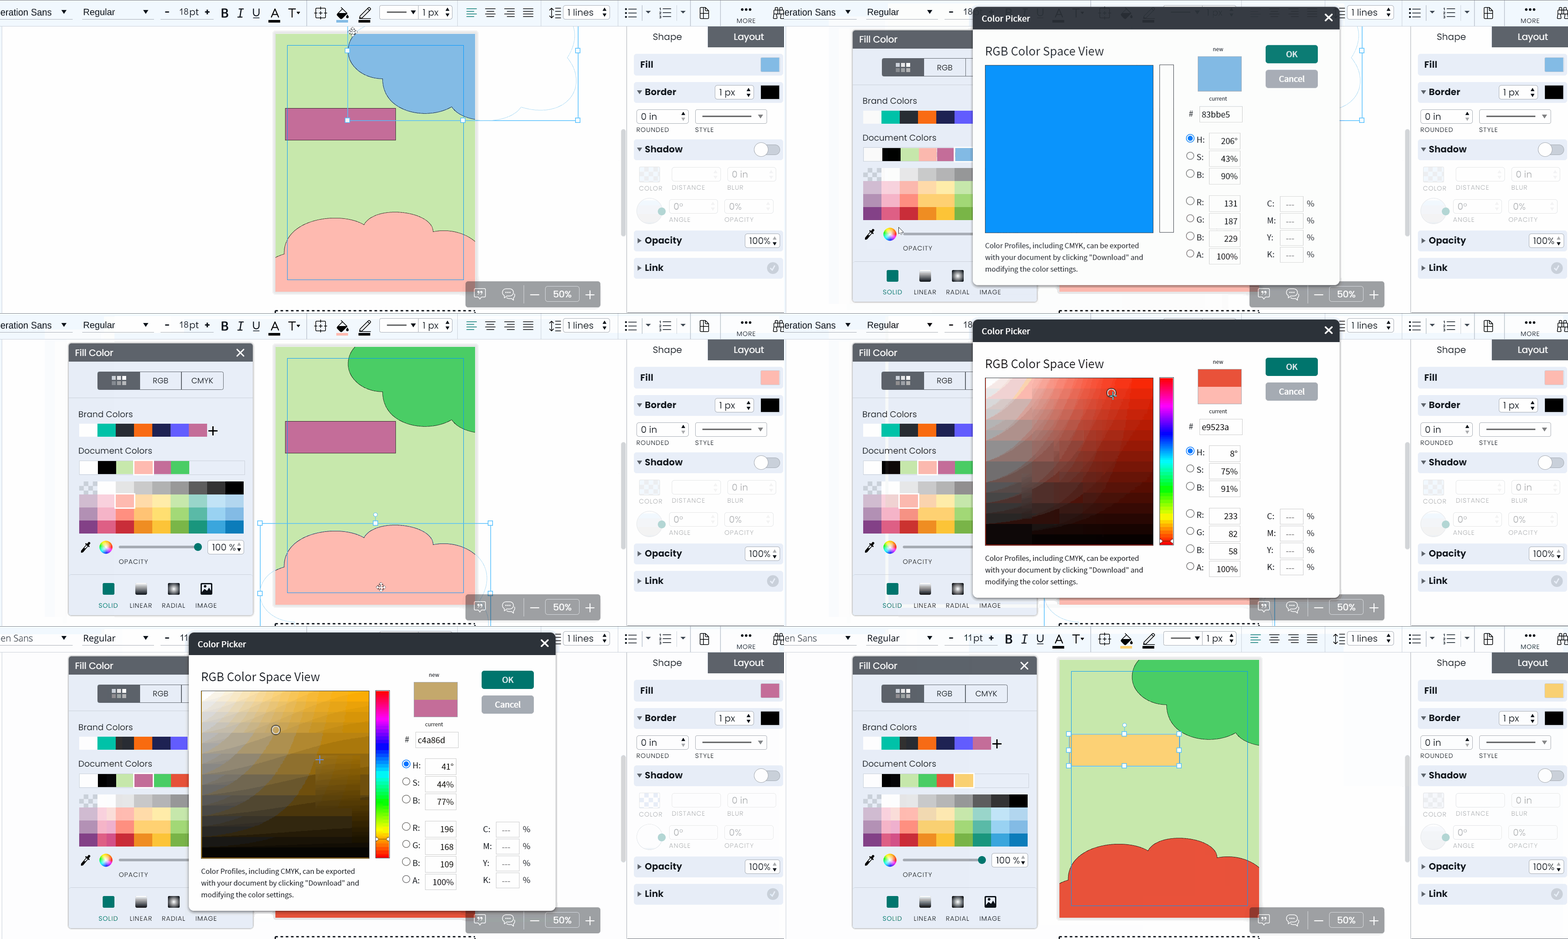
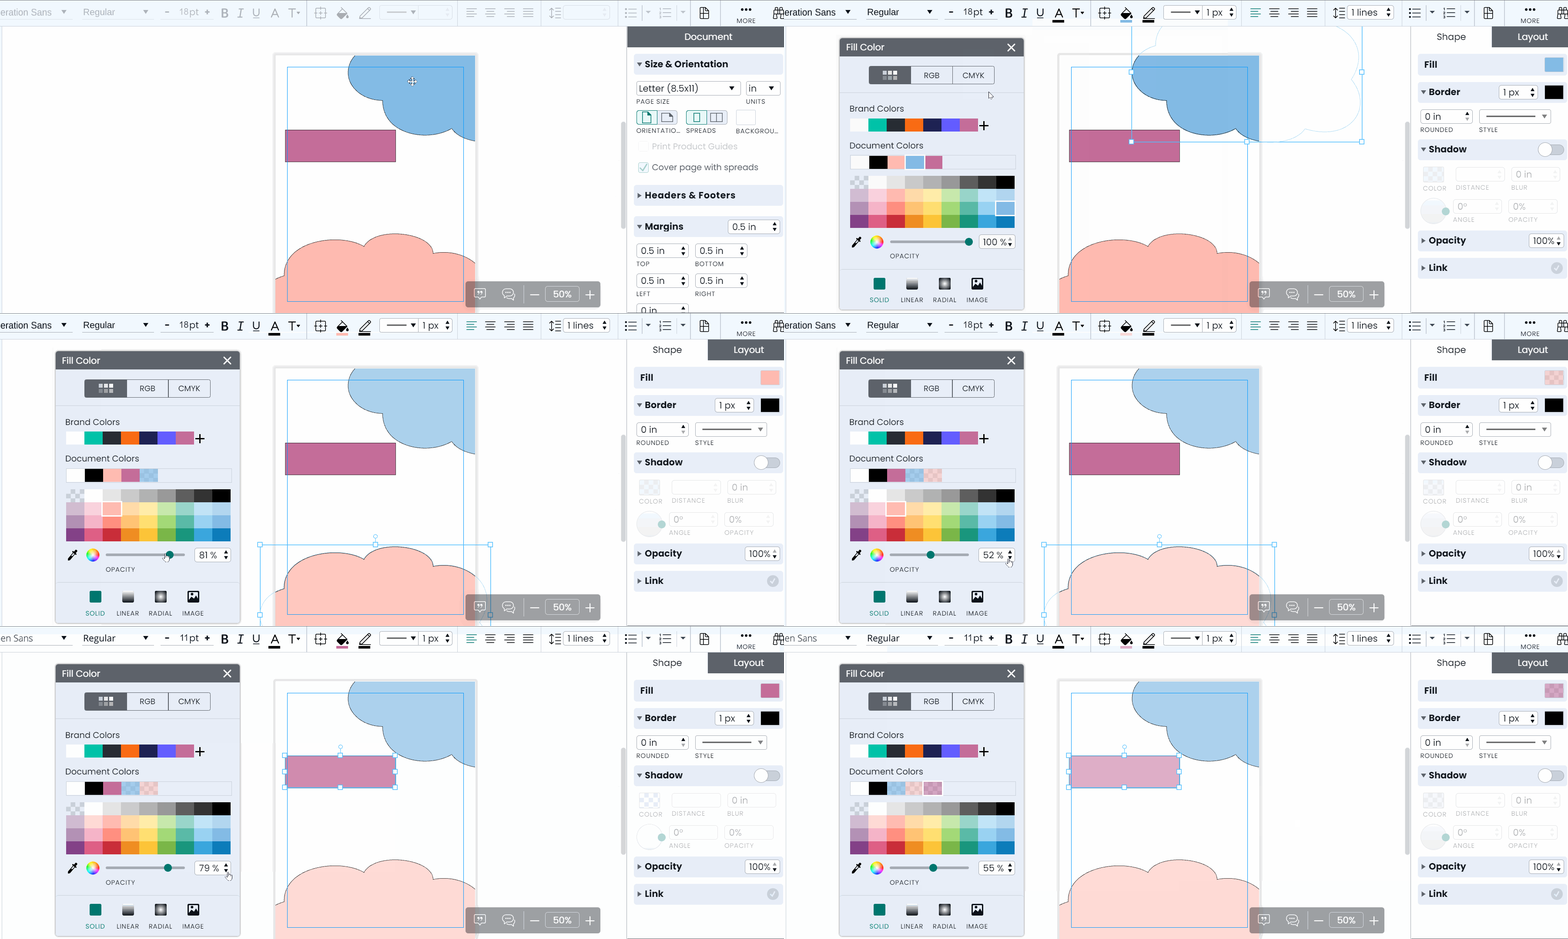
- Select your desired opacity by moving the blue dot horizontally across the OPACITY bar or by typing a percentage into the box on its right.
To identify the color of an object on your canvas, click on the dropper to the left of the color wheel.
A magnifying lens containing a grid will appear on your canvas. Hover over the object in question and the RGB coordinates of its color will display within the magnifying lens.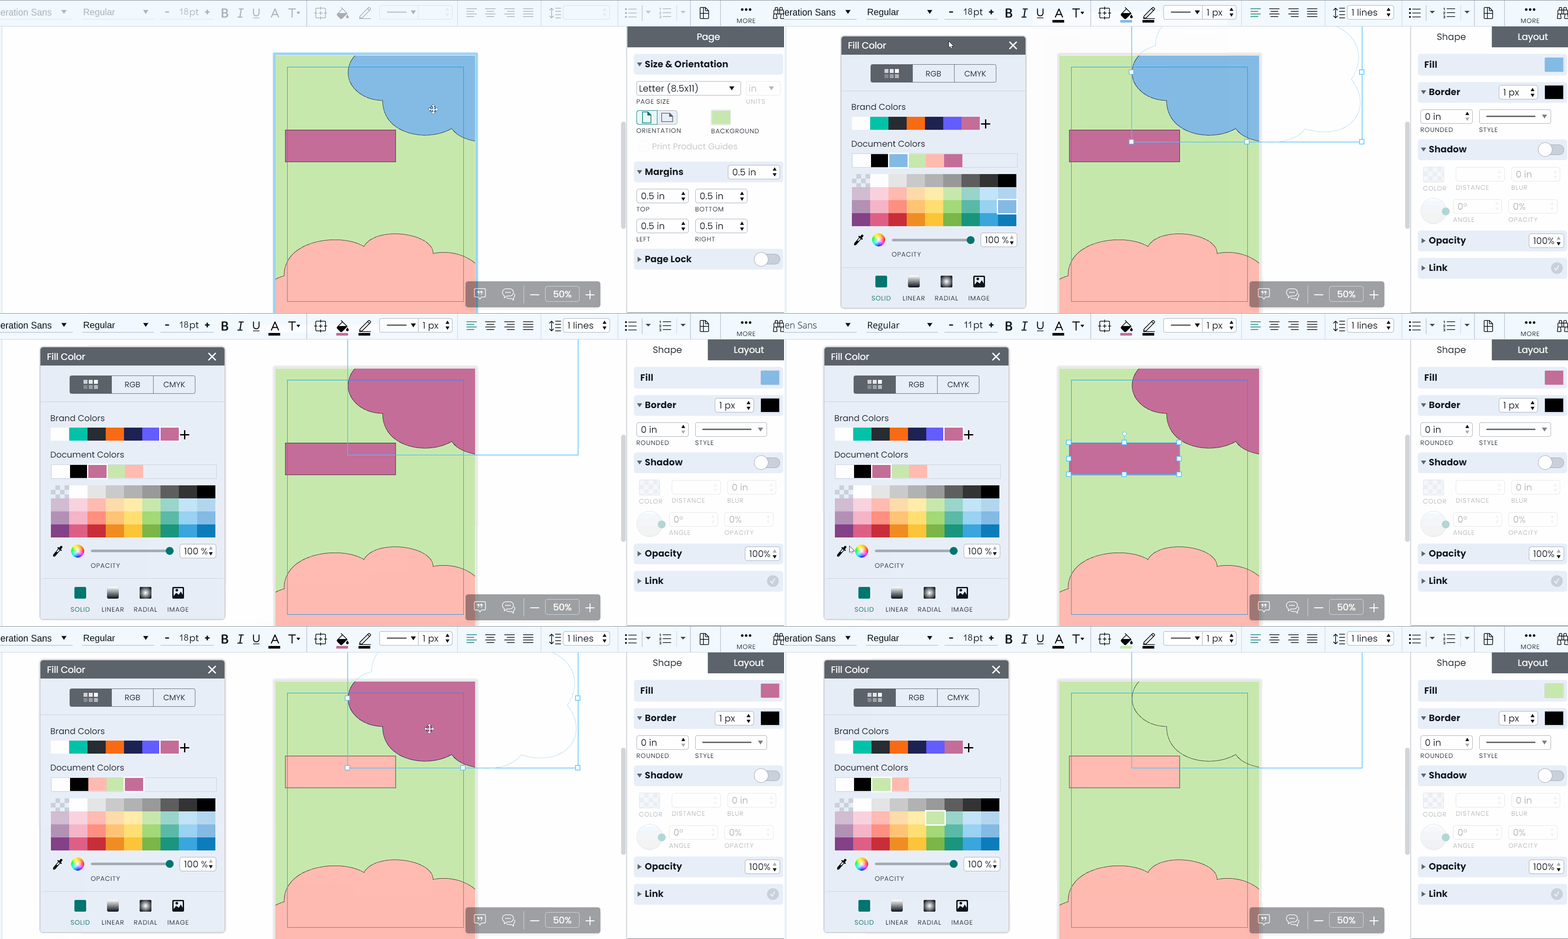
Special Fills for Shapes
Underneath the opacity bar in the shape-fill options window, you will see the following options:
Select “IMAGE” to fill a shape with a new image from your Image Manager.
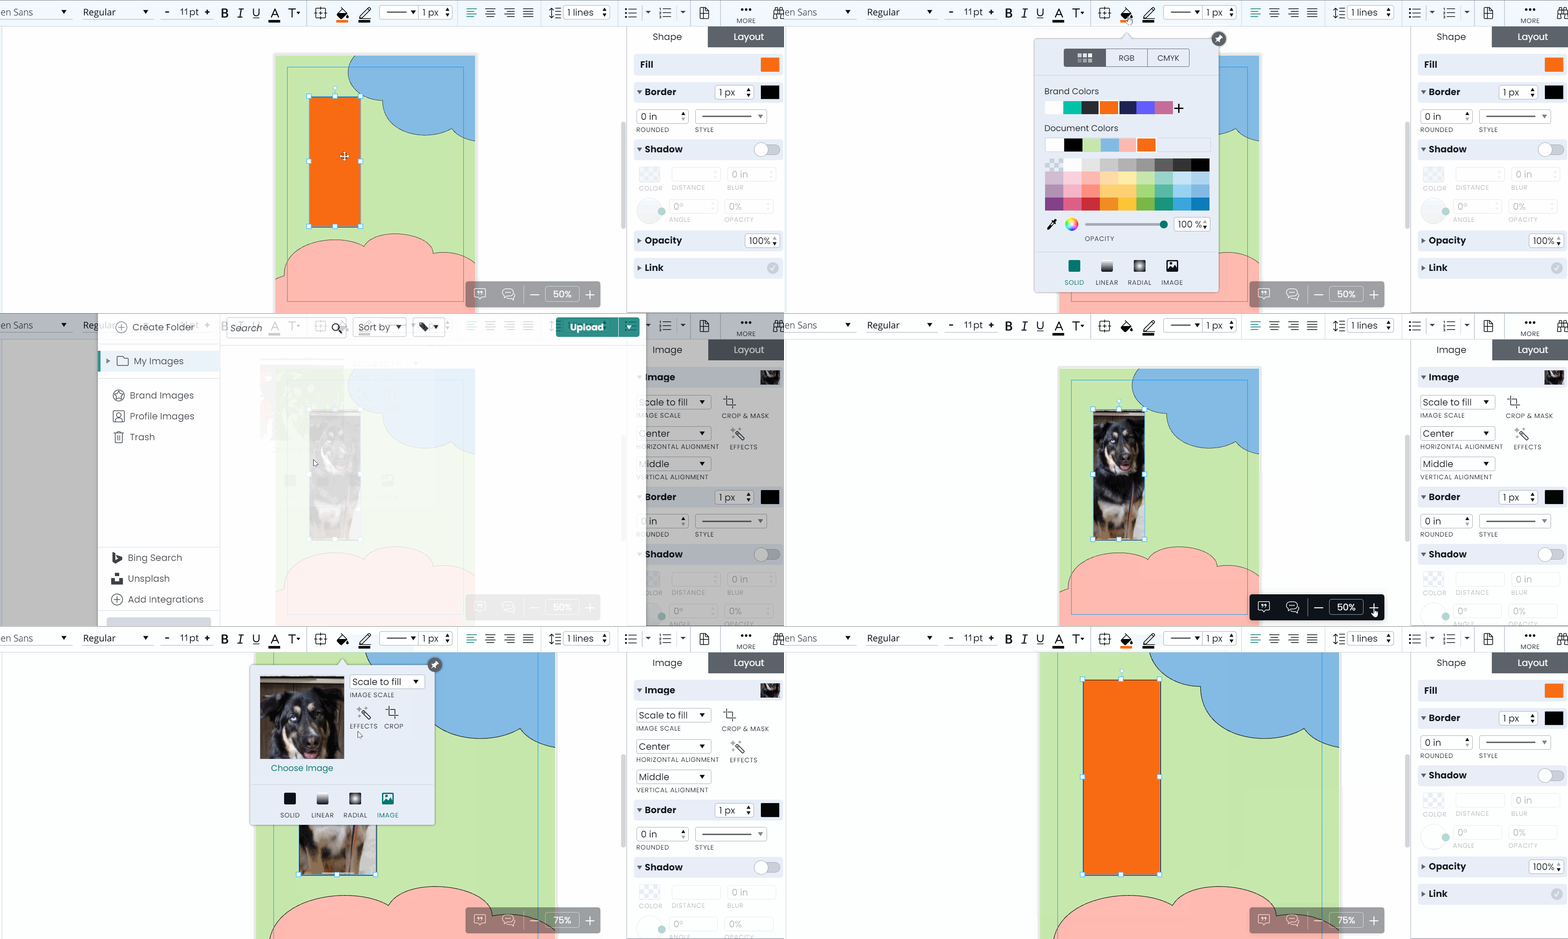
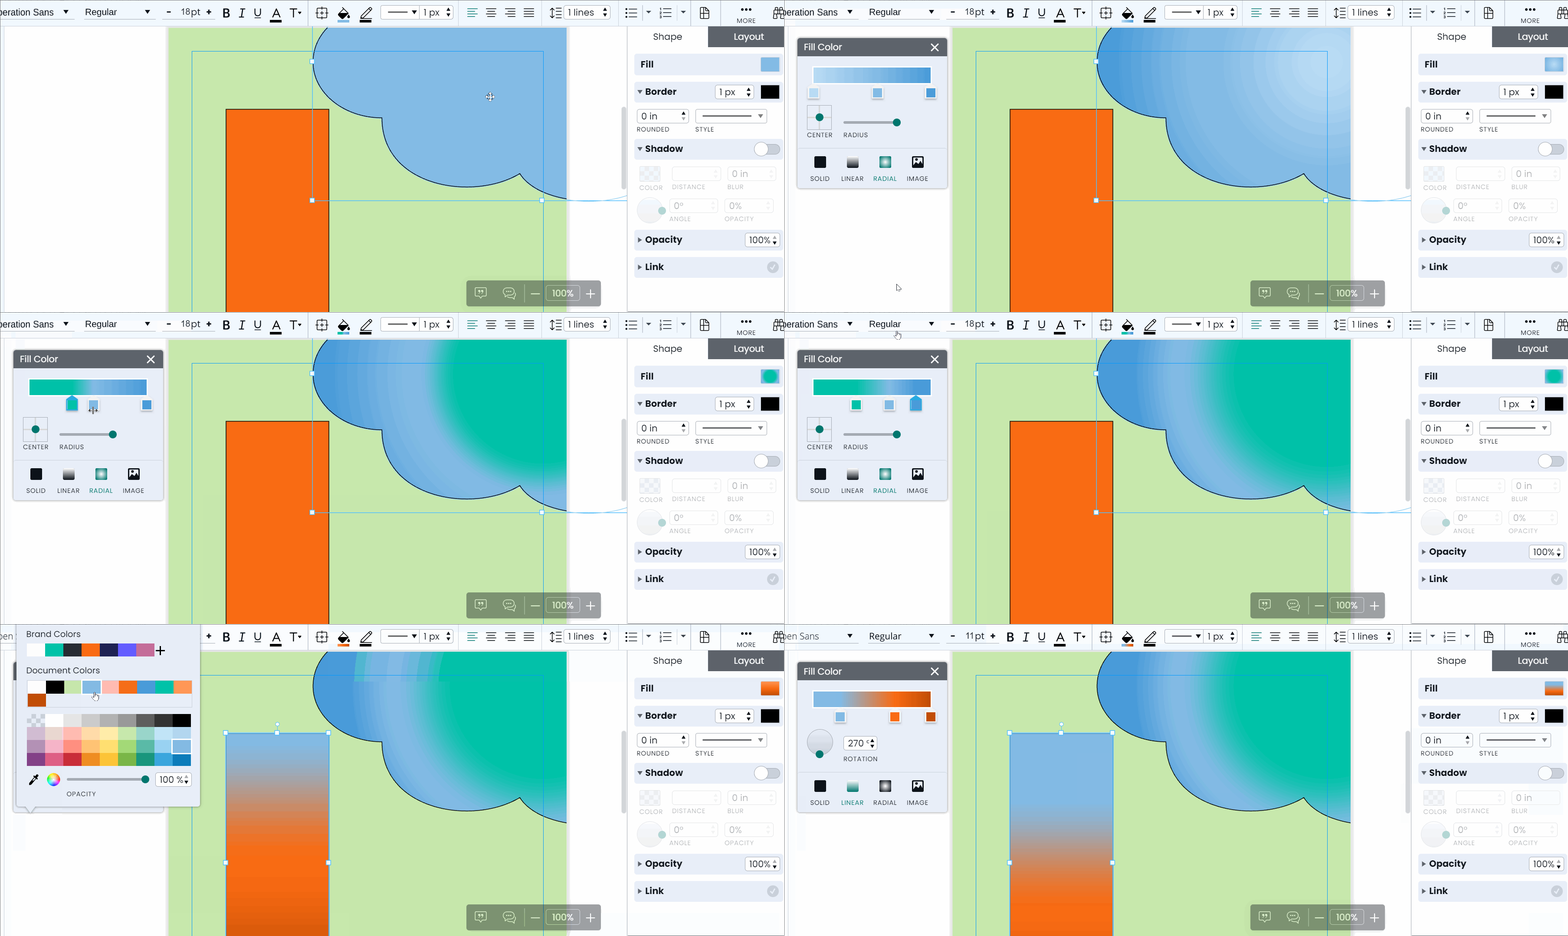
Alternatively, select the “LINEAR” or “RADIAL” icon to fill your shape with a color gradient that you can customize with different colors and your choice of rotation or radius.
Add and Style Borders and Shadows
To edit the border of a shape or image, select the object and navigate to the “Shape” or “Image” tab of your Context Pane. In the “Border” section you can adjust the width, color, and style of the border and round the border’s corners by typing a value into the “Radius” box or toggling the box’s arrows up or down. You can also access these settings in the Options Bar at the top of your canvas.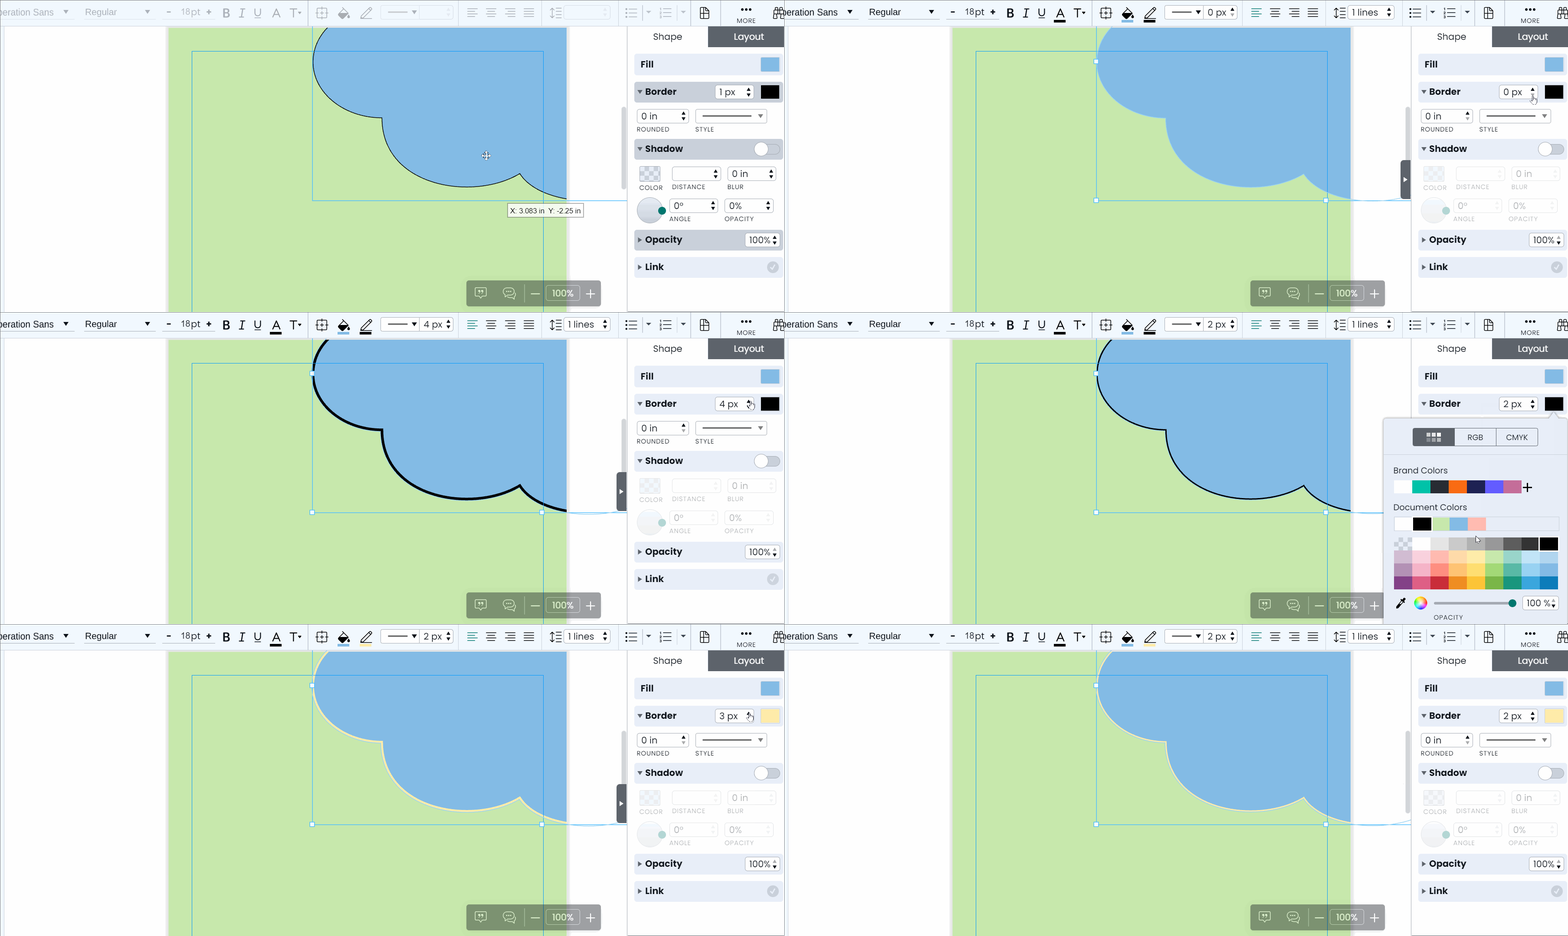
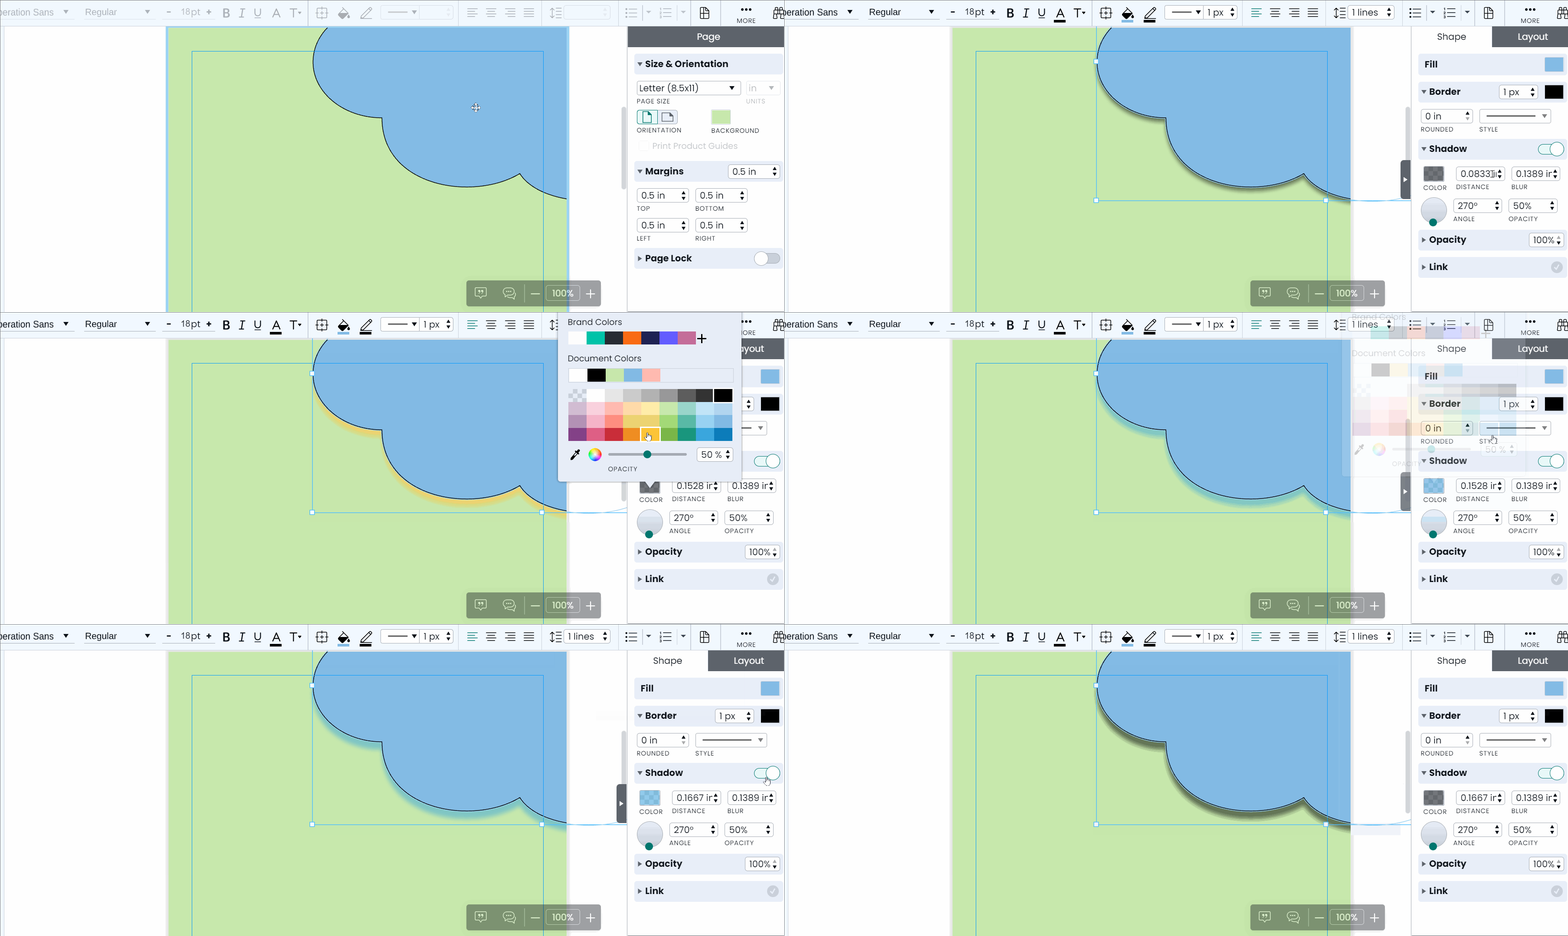
Underneath the “Border” section of the Context Pane, you can find shadow options. Toggle the button at the top right corner of this section to add a shadow to your selected shape or image. You can then edit the color, angle, distance, blur, and opacity of your shadow by playing with the corresponding settings.