Jump to a section
Examples of data automation
- A product spec sheet: the project will auto-populate depending on which product you select
- Real estate property listing flyer: Select the property (or properties) and auto-fill a flyer with that listing’s information
- Employee directory: quickly add an employee’s contact information to a directory
Connect your data
Select a data source to learn more:
Note - currently only those who have reached out to their CSM and have been granted the 'real estate' persona can connect to an MLS or XML feed. The MLS/XML feed is currently only property listing related and must be the first dataset. If you have an existing dataset and want an MLS/XML connection, reach out to support@Marq.com
- Navigate to the Marq home page. Click the “Data Automation” tab in the left panel. A window will open. You can add different sections of data. The example below shows a section for “Property Listings”, “Employee Directory”, and “Product Spec Sheet”.
- Click the “Add Dataset” button on the bottom left to add a new set. Once it’s added, you can name the set and decide if you want the data to be shown in the Marq editor. You can also change the icon to make it easier to find when you’re editing a project.
- Click the dropdown to select the source and 'connect' or insert the link to your feed
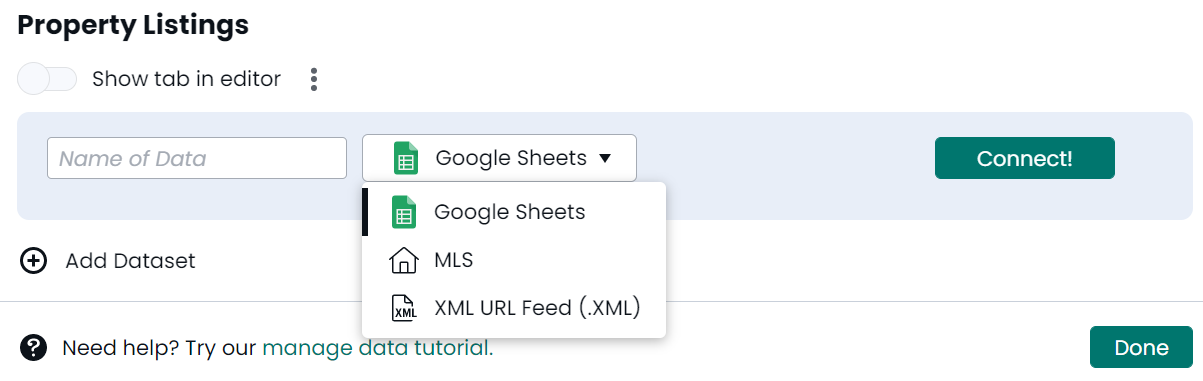
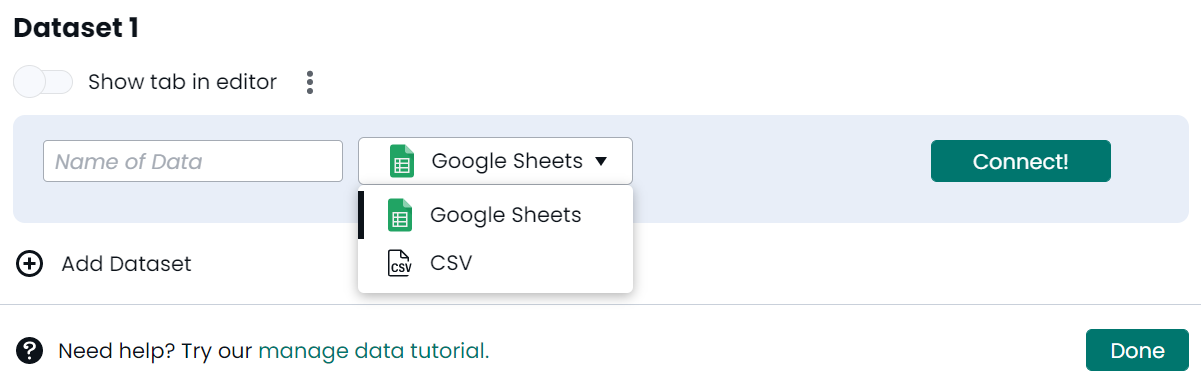
Note: If you add multiple data sources to one datasets, the columns need to be exactly the same. Also, if you would like to make changes to your data sources, you should not delete your entire dataset (or that will remove all your smart fields in your projects).
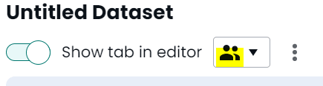
How to change the dataset icon
- Navigate to the Marq home page. Click the “Data Automation” tab in the left panel. A window will open.
- Click the icon dropdown below the dataset name to change the icon.
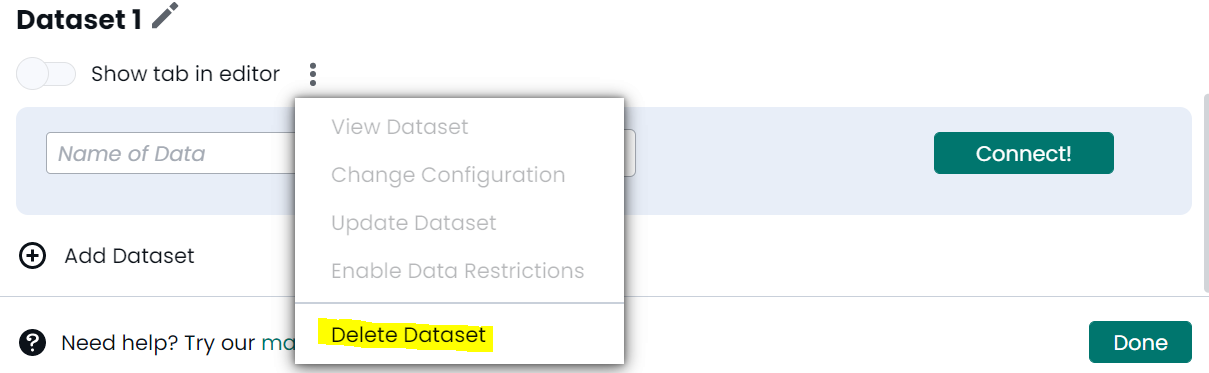
Deleting a dataset
- Click the three dots next to the dataset
-
Confirm the deletion
IMPORTANT: If you have any existing smart fields using the dataset, the connection will be removed when you delete the dataset.
Reconnecting a dataset
- Next to the dataset, click the trash icon

- Confirm deletion. This will not remove your smart field connections as long as your column headers remain the same.
- Reconnect to the dataset

Smart fields
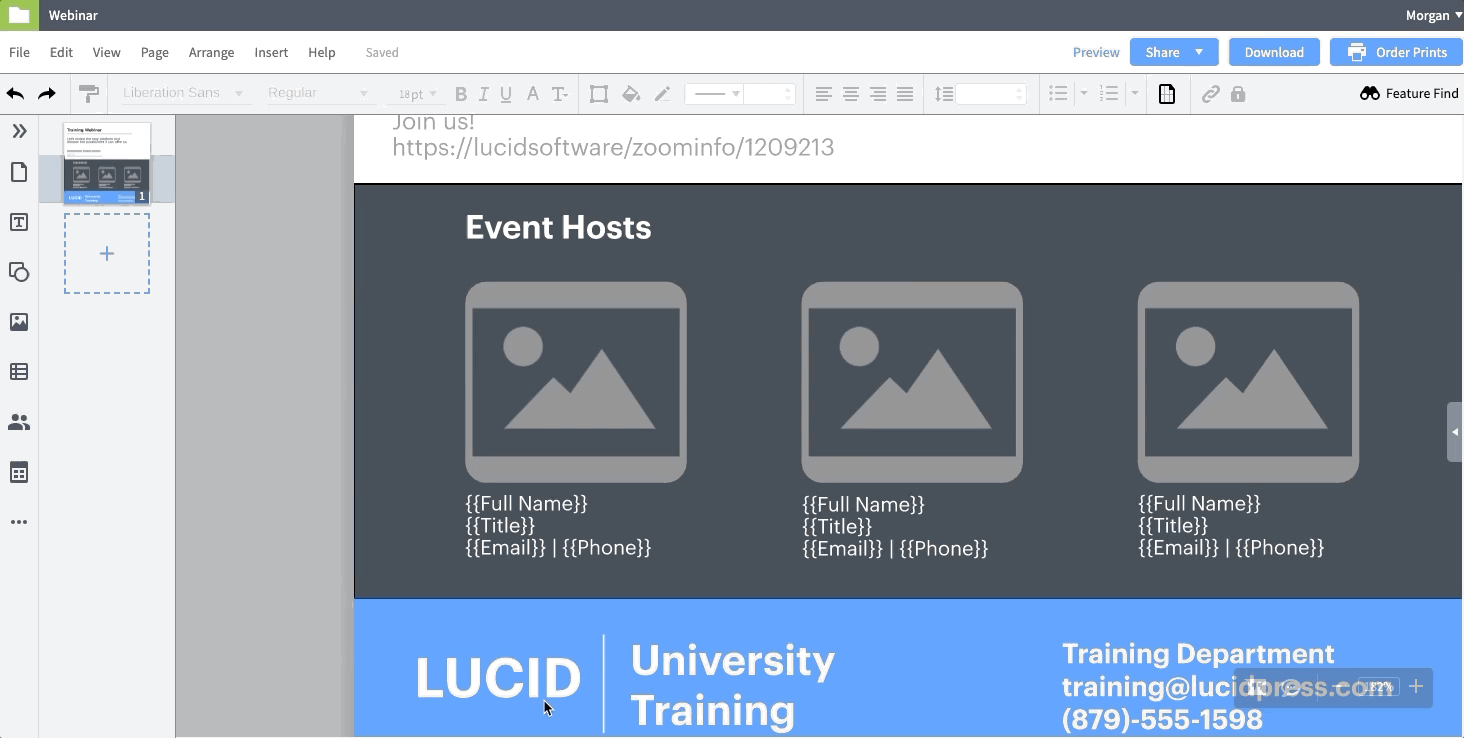
Once your data is connected to Marq, you will need to convert the plain text in your templates and projects to smart fields. Smart fields allow information to auto-fill an entire project. If your project already has custom smart fields, you may need to replace them with smart fields from your new data source.
To add a smart field, highlight or place your cursor where you want to insert the smart field. Go to the top menu and click “Insert > Smart Field” and then choose your data source and add the correct column. A placeholder will be added to your project.
To learn more about smart fields, click here.
Smart images
Learn how to configure.
How to access images from your data source
A row from your data source might have images you can quickly access. Admins can upload these photos. To learn how to upload the images to a row, click here.
-
Open your file in Marq
- If you want to populate a certain text box, select the text box first (the data needs to be applied before you can access the images)
- Choose the data icon in the left content pane
- Search for the row you’re looking for
- Select the row and click, “Apply to Object” or "Apply to project" if you want it to be applied to the entire project.
- In the left, click the “Images” tab to see any images tied to that row. Drag and drop to add it to your project.
Marq User Restriction
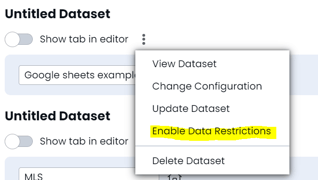
(For Google Sheets, CSV connections:) Allow only certain users to see data items from your data source. Do this by creating a column called "Marq User Restriction" in your dataset and inputting the emails of the users who can access the data separated by a semicolon. Then, go to your data automation manager in Marq and click the three dots next to the data set. Click "Enable data restrictions". Click OK to confirm.
Note: leave a data row empty to allow all users to access the data. If you put any emails in the data restriction column, only the users who have their email placed in the row will see that data in Marq.
(For XML/MLS connections:) The user restriction is controlled by the license number rather than email. Each user is assigned a license number. You can allow listings to be viewed by multiple users by having multiple license numbers assigned to a listing in the datafeed.
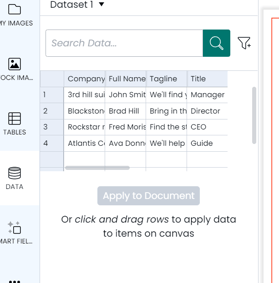
Apply data to a project
Choose which data row to apply to your project and all smart fields will autofill. Quickly access images related to your data as well!
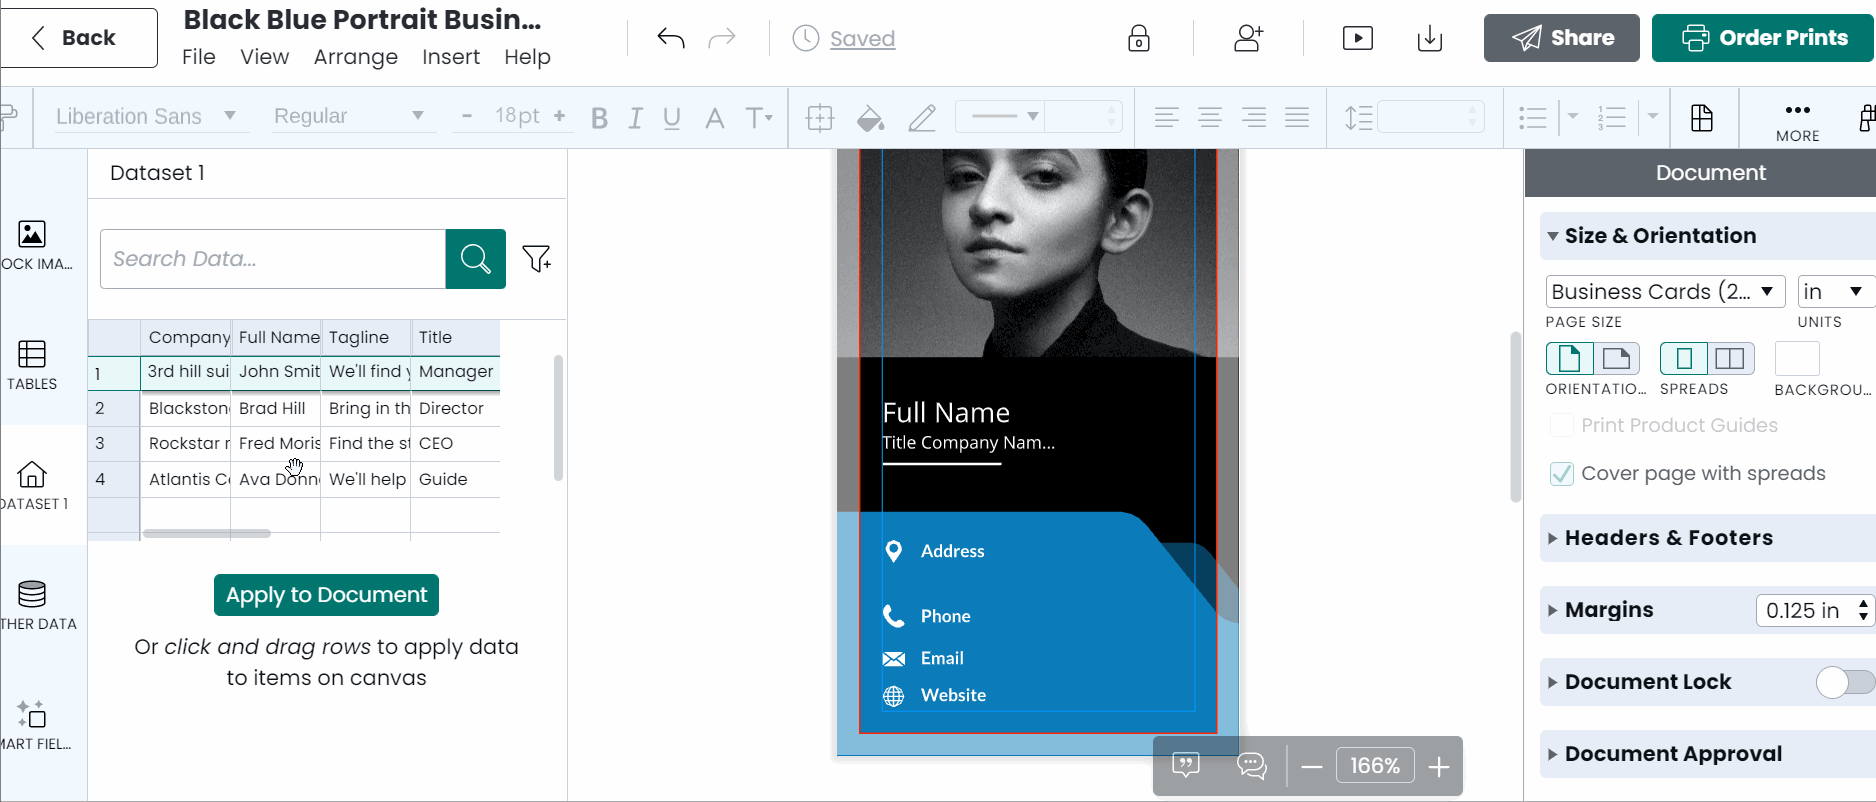
Apply data to an object
If you have multiple smart fields in a single text box, simply drag and drop a row of data into the object, and the data will auto fill.
FAQ
- Double-check that your dataset is set to display in the editor.
- Navigate to the Marq home page. Click the “Data Automation” tab in the left panel. A window will open. Make sure the option “Show tab in editor” is enabled.
MLS and Zillow will vary depending on when they push their data. Marq will attempt to sync once a day, but it depends on their system when the data can be retrieved.
Having more than one data source can be useful. For example, you can have a Google Sheet for each office. They can add additonal data to the Google Sheet, but they don't need to see all the info from the other offices. In Marq, the data would then combine.
You can delete data sources. For example, if you connected the wrong Google Sheet/XML feed, you can remove it without affecting your smart fields (as long as the columns are the exact same as your smart fields).c