First, make sure that Campaign Monitor is enabled in your collaboration settings, then follow the steps below:
1) Create a Campaign Monitor account (if you haven't already)
2) Add your subscriber list into Campaign Monitor. Learn how
NOTE: This is important. The integration won't work if you don't have a subscriber list.
3) Go to your Marq project. Click 'Share', then on the 'Embed in an Email' tab. Publish your project
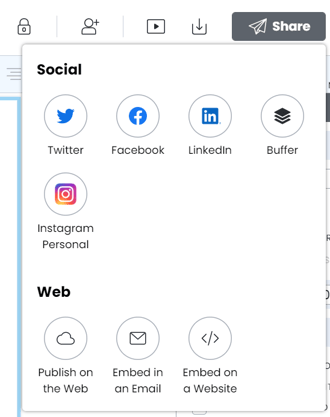
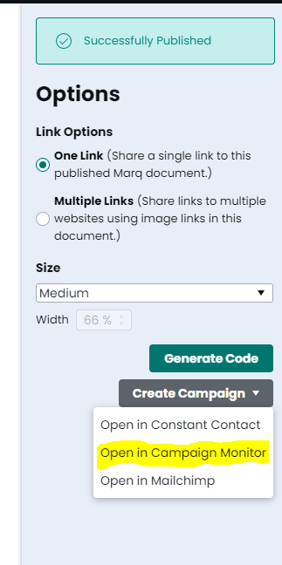
4) We recommend choosing 'Multiple Links' and 'Medium' as the size. Click 'Open in Campaign Monitor'. Make sure pop-ups are not blocked.
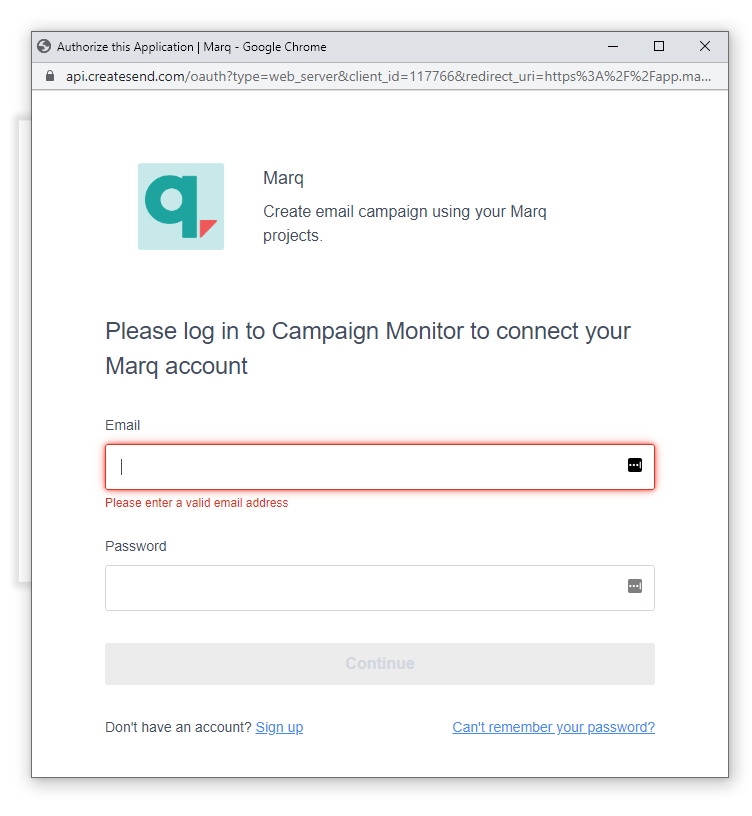
5) Authorize Marq + Campaign Monitor If you haven't used Campaign Monitor with Marq yet, you may need to go log in and authorize Marq with Campaign Monitor
5) Add a campaign name, subject line, and other information.
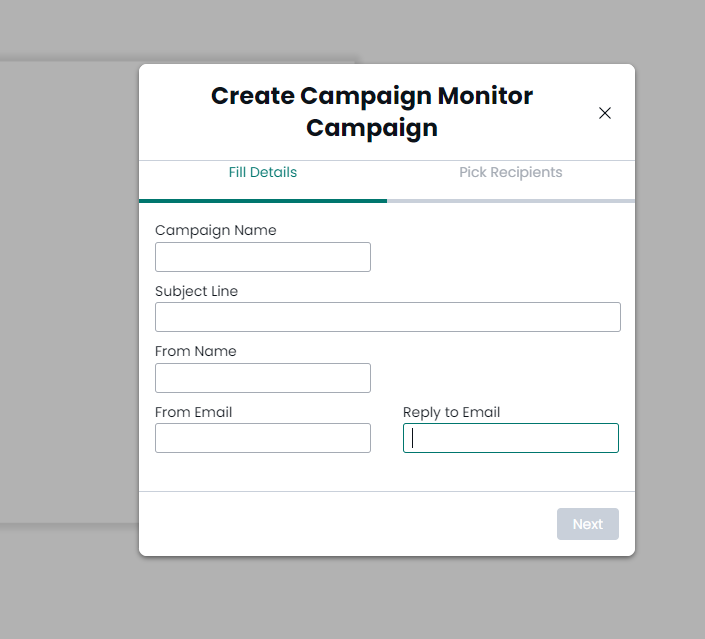
6) Select your subscriber list

6) Submit to Campaign Snapshot and double-check/make edits to your campaign before scheduling


Note: if you make changes to the Marq project and republish, it will update the 'View in Browser' link at the top of the email.