CSV upload
In your CSV upload, you will add multiple images in the profile image and logo columns separated by a comma. Once you have finished formatting the CSV, upload it to your 'add users' page. 
SCIM
Logo and profile images can be sent via SCIM. To do this, you’ll need to have separate key-value pairs specified for each image. Logos and profile images will need to follow this pattern for the naming of their respective keys:
- Logos should have a “logo_” prefix in their key names
- Profile images should have a “profileImage_” prefix in their key names
Here’s an example of logos and profile images included with other user metadata passed to Marq via SCIM:
{
"urn:Marq:schemas:1.0:User": {
"canEdit": true,
"addOns": []
},
"displayName": "john.doe@example.com",
"roles": [],
"canEdit": true,
"active": true,
"userName": "john.doe@example.com",
"urn:ietf:params:scim:schemas:extension:Marq:1.0:UserFields": {
"website": "Marq.com",
"fullName": "John Doe",
"address": "1324 Street\nSan Francisco, CA 94014",
"title": "Engineer",
"workPhone": "(888) 705-4096",
"company": "Marq",
"cellPhone": "(888) 705-4096",
"logo": "https://dogtime.com/assets/uploads/2018/10/puppies-cover.jpg",
"logo_1": "https://example.com/image_1.png",
"logo_withAName": "https://example.com/image_2.png",
"profileImage": "https://dogtime.com/assets/uploads/2018/10/puppies-cover.jpg",
"profileImage_2": "https://example.com/image_1.png",
"profileImage_3": "https://example.com/image_2.png",
},
The order in which the key-value pairs are listed is how they will appear in the user interface.
Designating a profile image or logo in a template
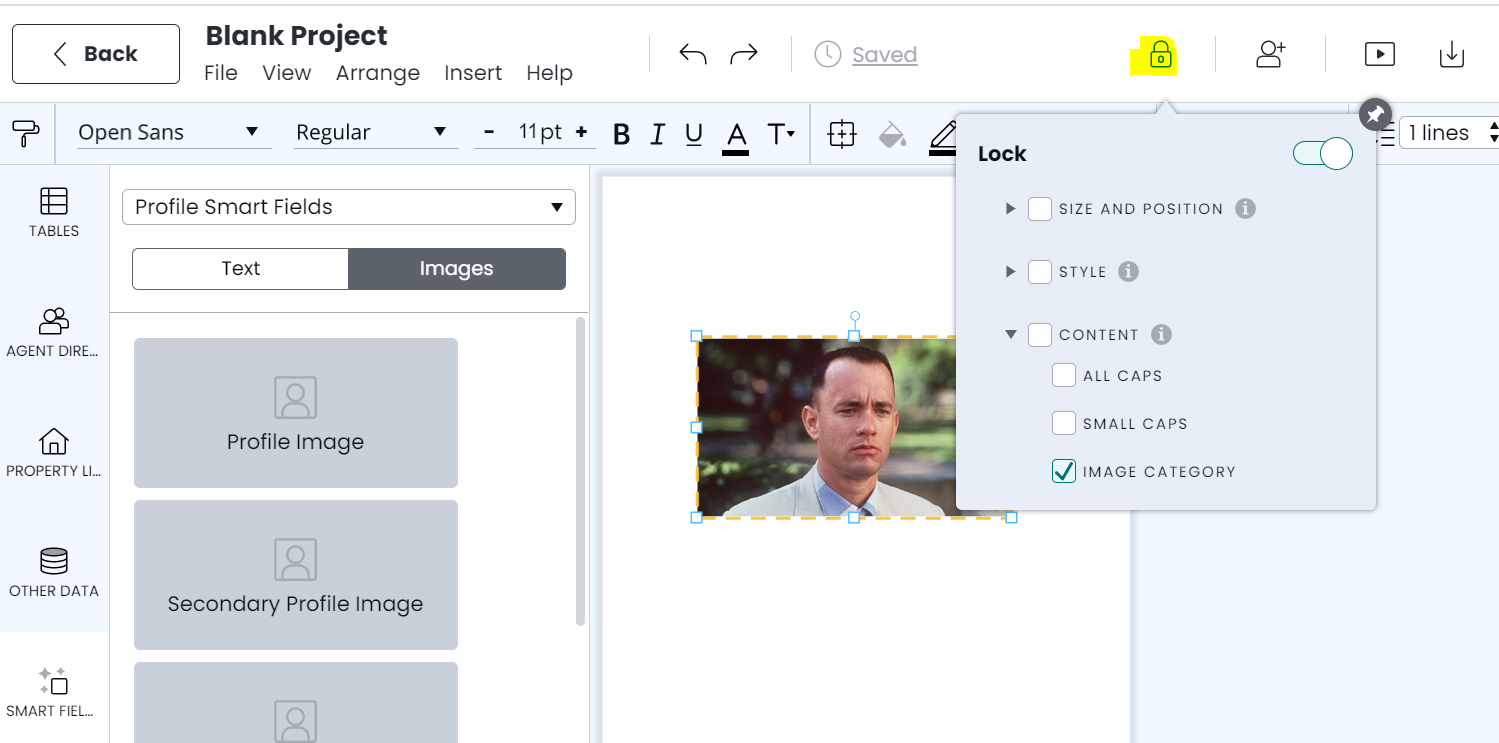
- Create a smart profile image or logo by dragging it out from your profile smart fields images tab
- Click on the icon to the right of the image after selecting the image and designate one of the images

- Convert the project into a template
- Once a user creates their own copy for that template, it will populate the order you selected your profile/logo image (for example, if you selected the 2nd image as the profile image, the 2nd image would apply for the user as well)
- If you wish to lock the image category to prevent selection, right-click > lock image category
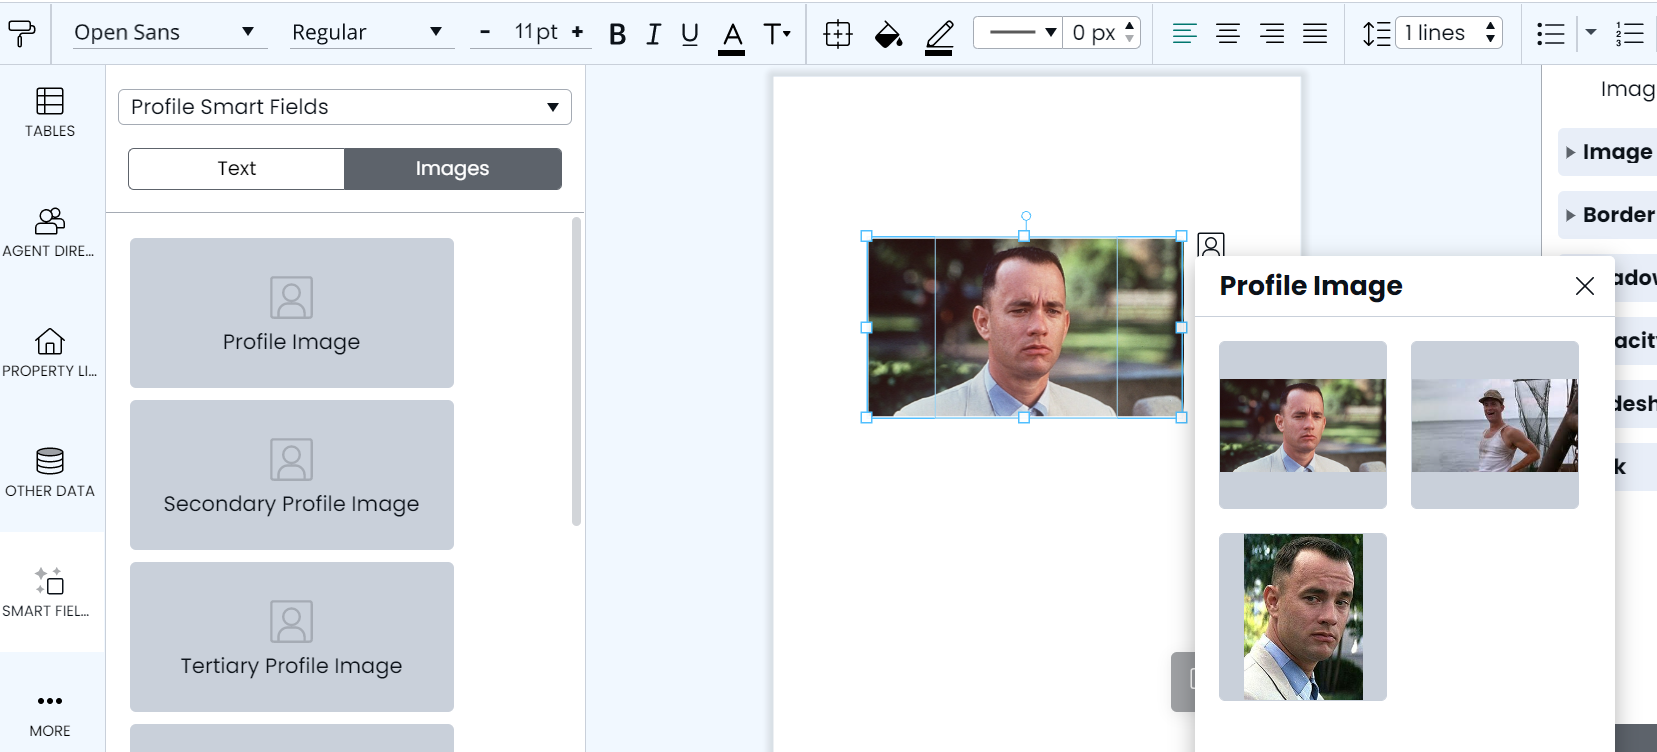
Selecting a profile image or logo in a project
Once you have created a new project from a template, click on the smart profile image or logo then click on the icon to the right corner. From there, you can select an image to replace your current smart profile image or logo.
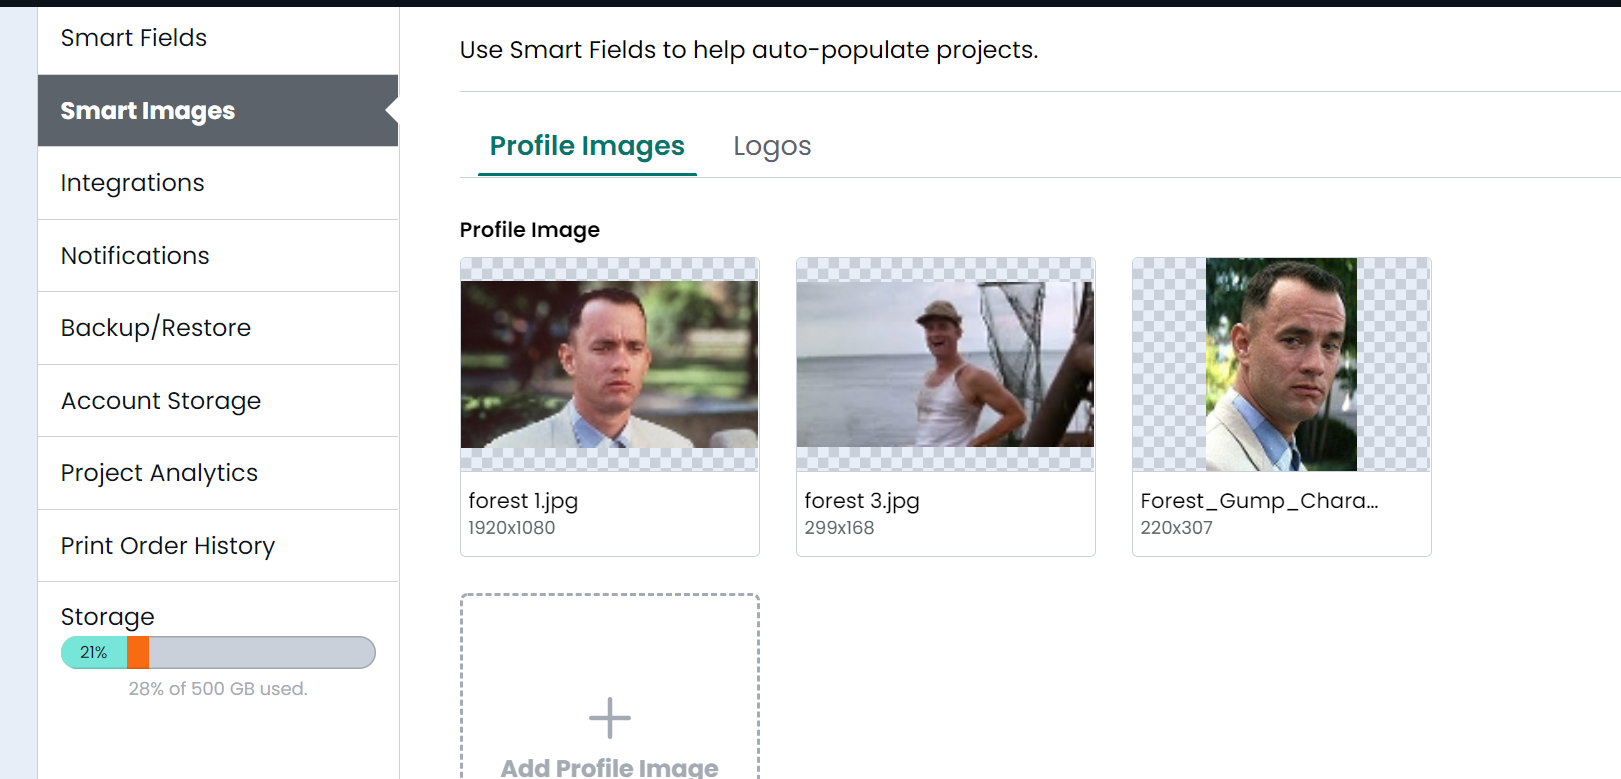
Adding additional images
In your account settings, users can add additional images to their smart images tab or you can re-upload a new CSV with the up-to-date images.