Jump to a section
| Inserting images |
| Image rotation |
| Flip image orientation |
| Crop and image scale |
| Image effects |
| Opacity |
| Borders |
| Round out images |
| Shadows |
Inserting Images
You can insert images into your document using 3 different methods:
- Insert an image from the left content pane
If you already have images in your image manager, you can access them by clicking on the image icon in the content pane. From there, you can navigate through folders, locate the image you want to use, and drag it onto your canvas. To replace an image, drag your new image into the image placeholder on your canvas. - Insert an image from your desktop
If your image still needs to be added to your image manager, you can drag the image directly from your computer into the image placeholder. - Double-click to change an image
You can double-click on an image to open the image manager. You’ll see all the images you have uploaded in your image manager and shared folders among your team. Once you find the desired image, double-click to place it on the canvas.
Image rotation
Image rotation Images may import with a different rotation. To rotate an image, select an image and hover over the white dot at the top until your cursor becomes a circular arrow. Click and hold as you turn the shape. TIP: if you hold SHIFT while rotating, your object will lock in place at the 90 and 45-degree marks.
Flip image orientation
Flip image orientation If the image was flipped horizontally in InDesign, it will not look the same when imported to Marq. To flip an image, start by selecting the image in Marq and navigate to the "Layout" tab on the right. Under the "Rotate" section, click the "Flip horizontally" button.
Crop and Image Scale
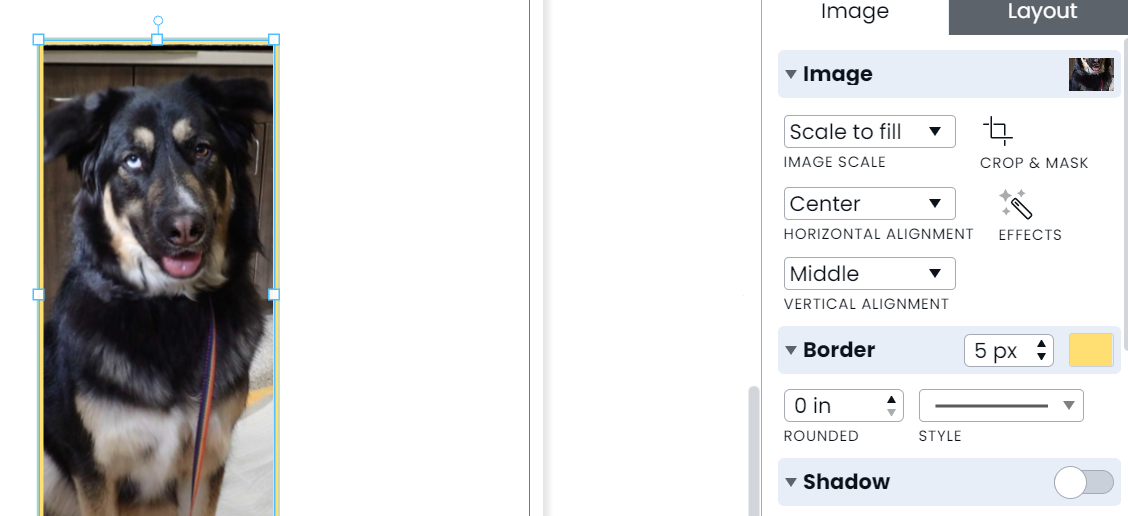
To quickly specify how your image will fill the shape of the image box (fill, stretch, etc.), select the image. On the right pane, under the image tab, you can click the drop-down menu for fill options
If you prefer a manual process, you can use the crop tool to move the image within the visible mask. You can zoom in on the most attractive portion of the image by dragging the blue corners outward.
Image effects
If your image had a black-and-white filter in InDesign, you can adjust the saturation in Marq for a similar effect. Select the image and select the image fill under the "Image tab" on the right. Click the "Effects" button to access saturation.
Opacity
To apply an overlay, you can lower the opacity of an image. Select your image and find the opacity section under the "Image" tab on the right.
Borders
To add a border to your image, select the image and navigate to the "Image" tab on the right. Under "Border," you can select the color, style, or pixel size of your border.
Round-out images
You can also use a border to change the corners of your image. To round out the corners increase the radius.
Shadows
You can add a shadow to your image under "Shadow" in the "Image" tab on the right. Just so you know, you may need to turn the shadow on to access the other shadow settings.